Our laser tracker automated inspection solutions are inherently customized, built out according to very specific user requirements that define everything from size and components to initial and future functionalities. This bespoke approach is why our solutions are driving better quality and higher productivity in manufacturing instances all over the world.
6DoF with the AT960
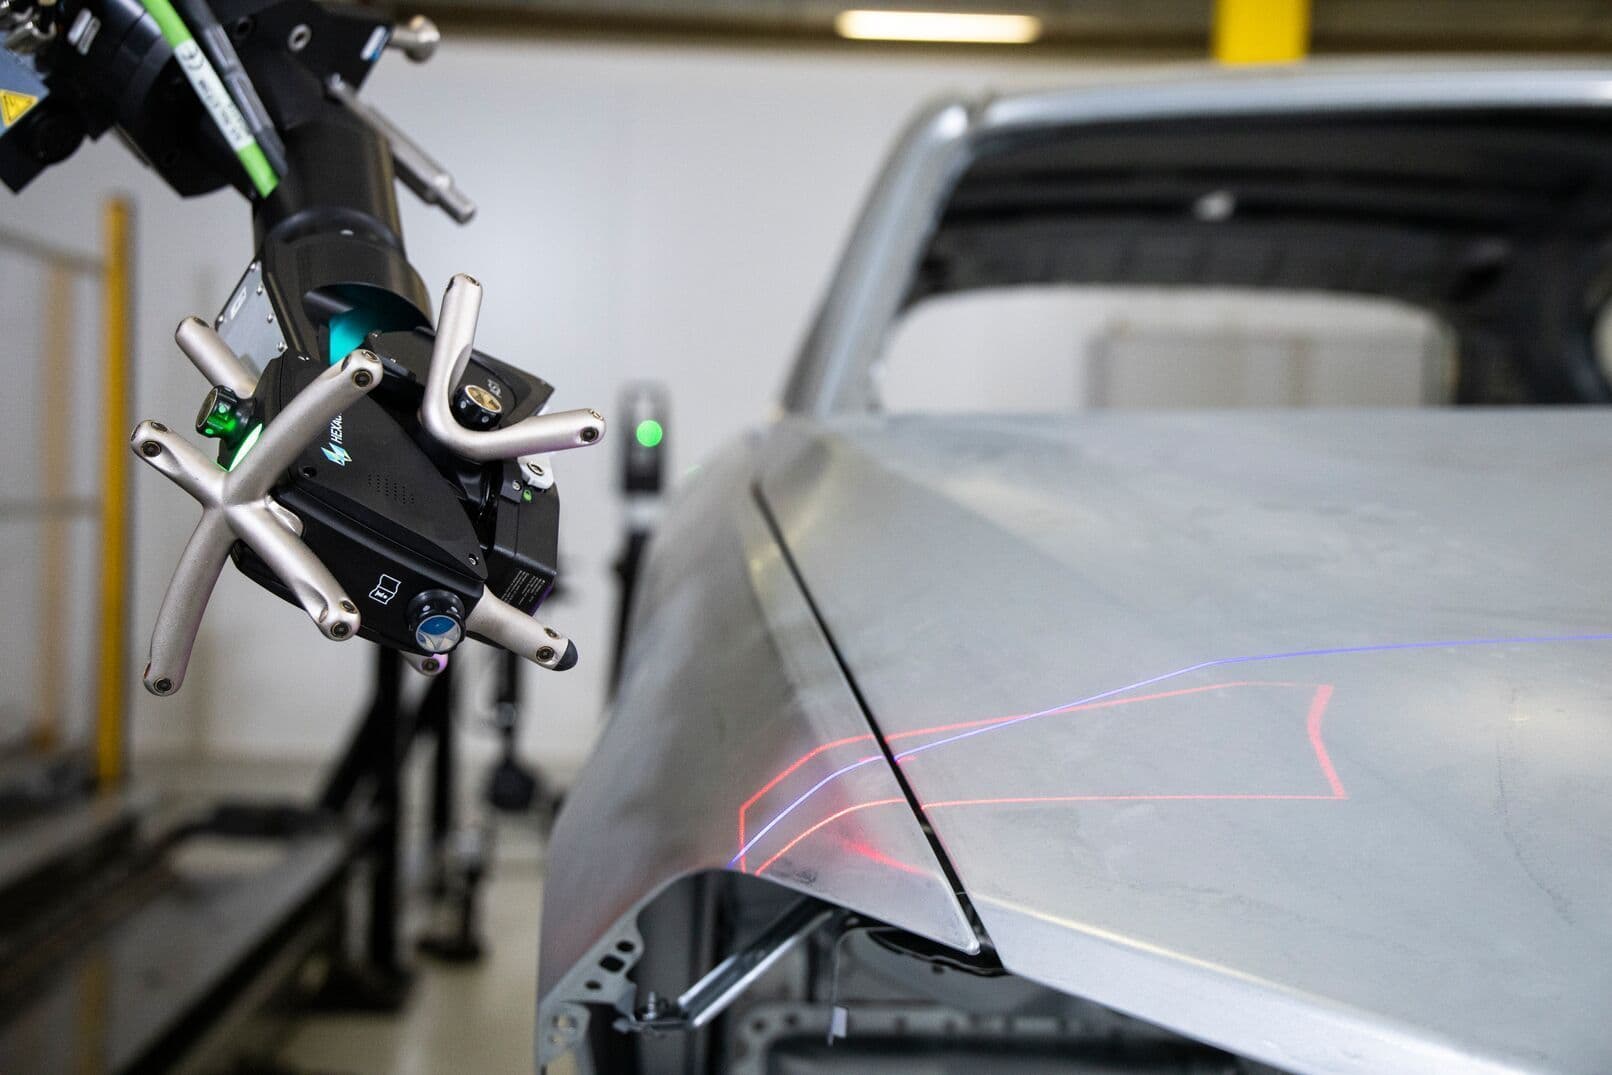
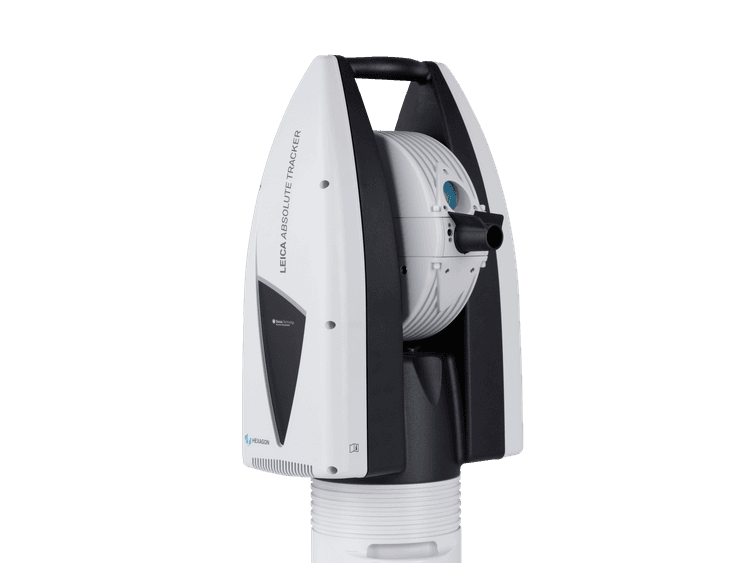
The Leica Absolute Tracker AT960 is capable of six degrees of freedom (6DoF) measurement as standard, allowing the use of a scanner, camera or probe from up to 30 metres away. With the Absolute Scanner AS1, Leica T-Scan 5 and Leica T-MAC sensors, this process can be automated, with each easily mountable on any standard industrial robot arm. Then a fully automated inspection setup is just a matter of programming and accessories, from turntables, sliders and robots to isolation walls, built-in control stations and tool changers for automatic sensor switching.
Direct Scanning with the ATS600
With the unique direct scanning functionality of the Leica Absolute Tracker ATS600, automated inspection is simpler than ever before. There’s no need for a sensor or an operator at the point of measurement, so components can just be brought into the tracker’s field of view and automatically inspected with just a few software clicks. No need to move the tracker, no need to manually scan. With its unique selective scanning functionality, you just tell the ATS600 the area it should measure and how much detail you need, and press start.


