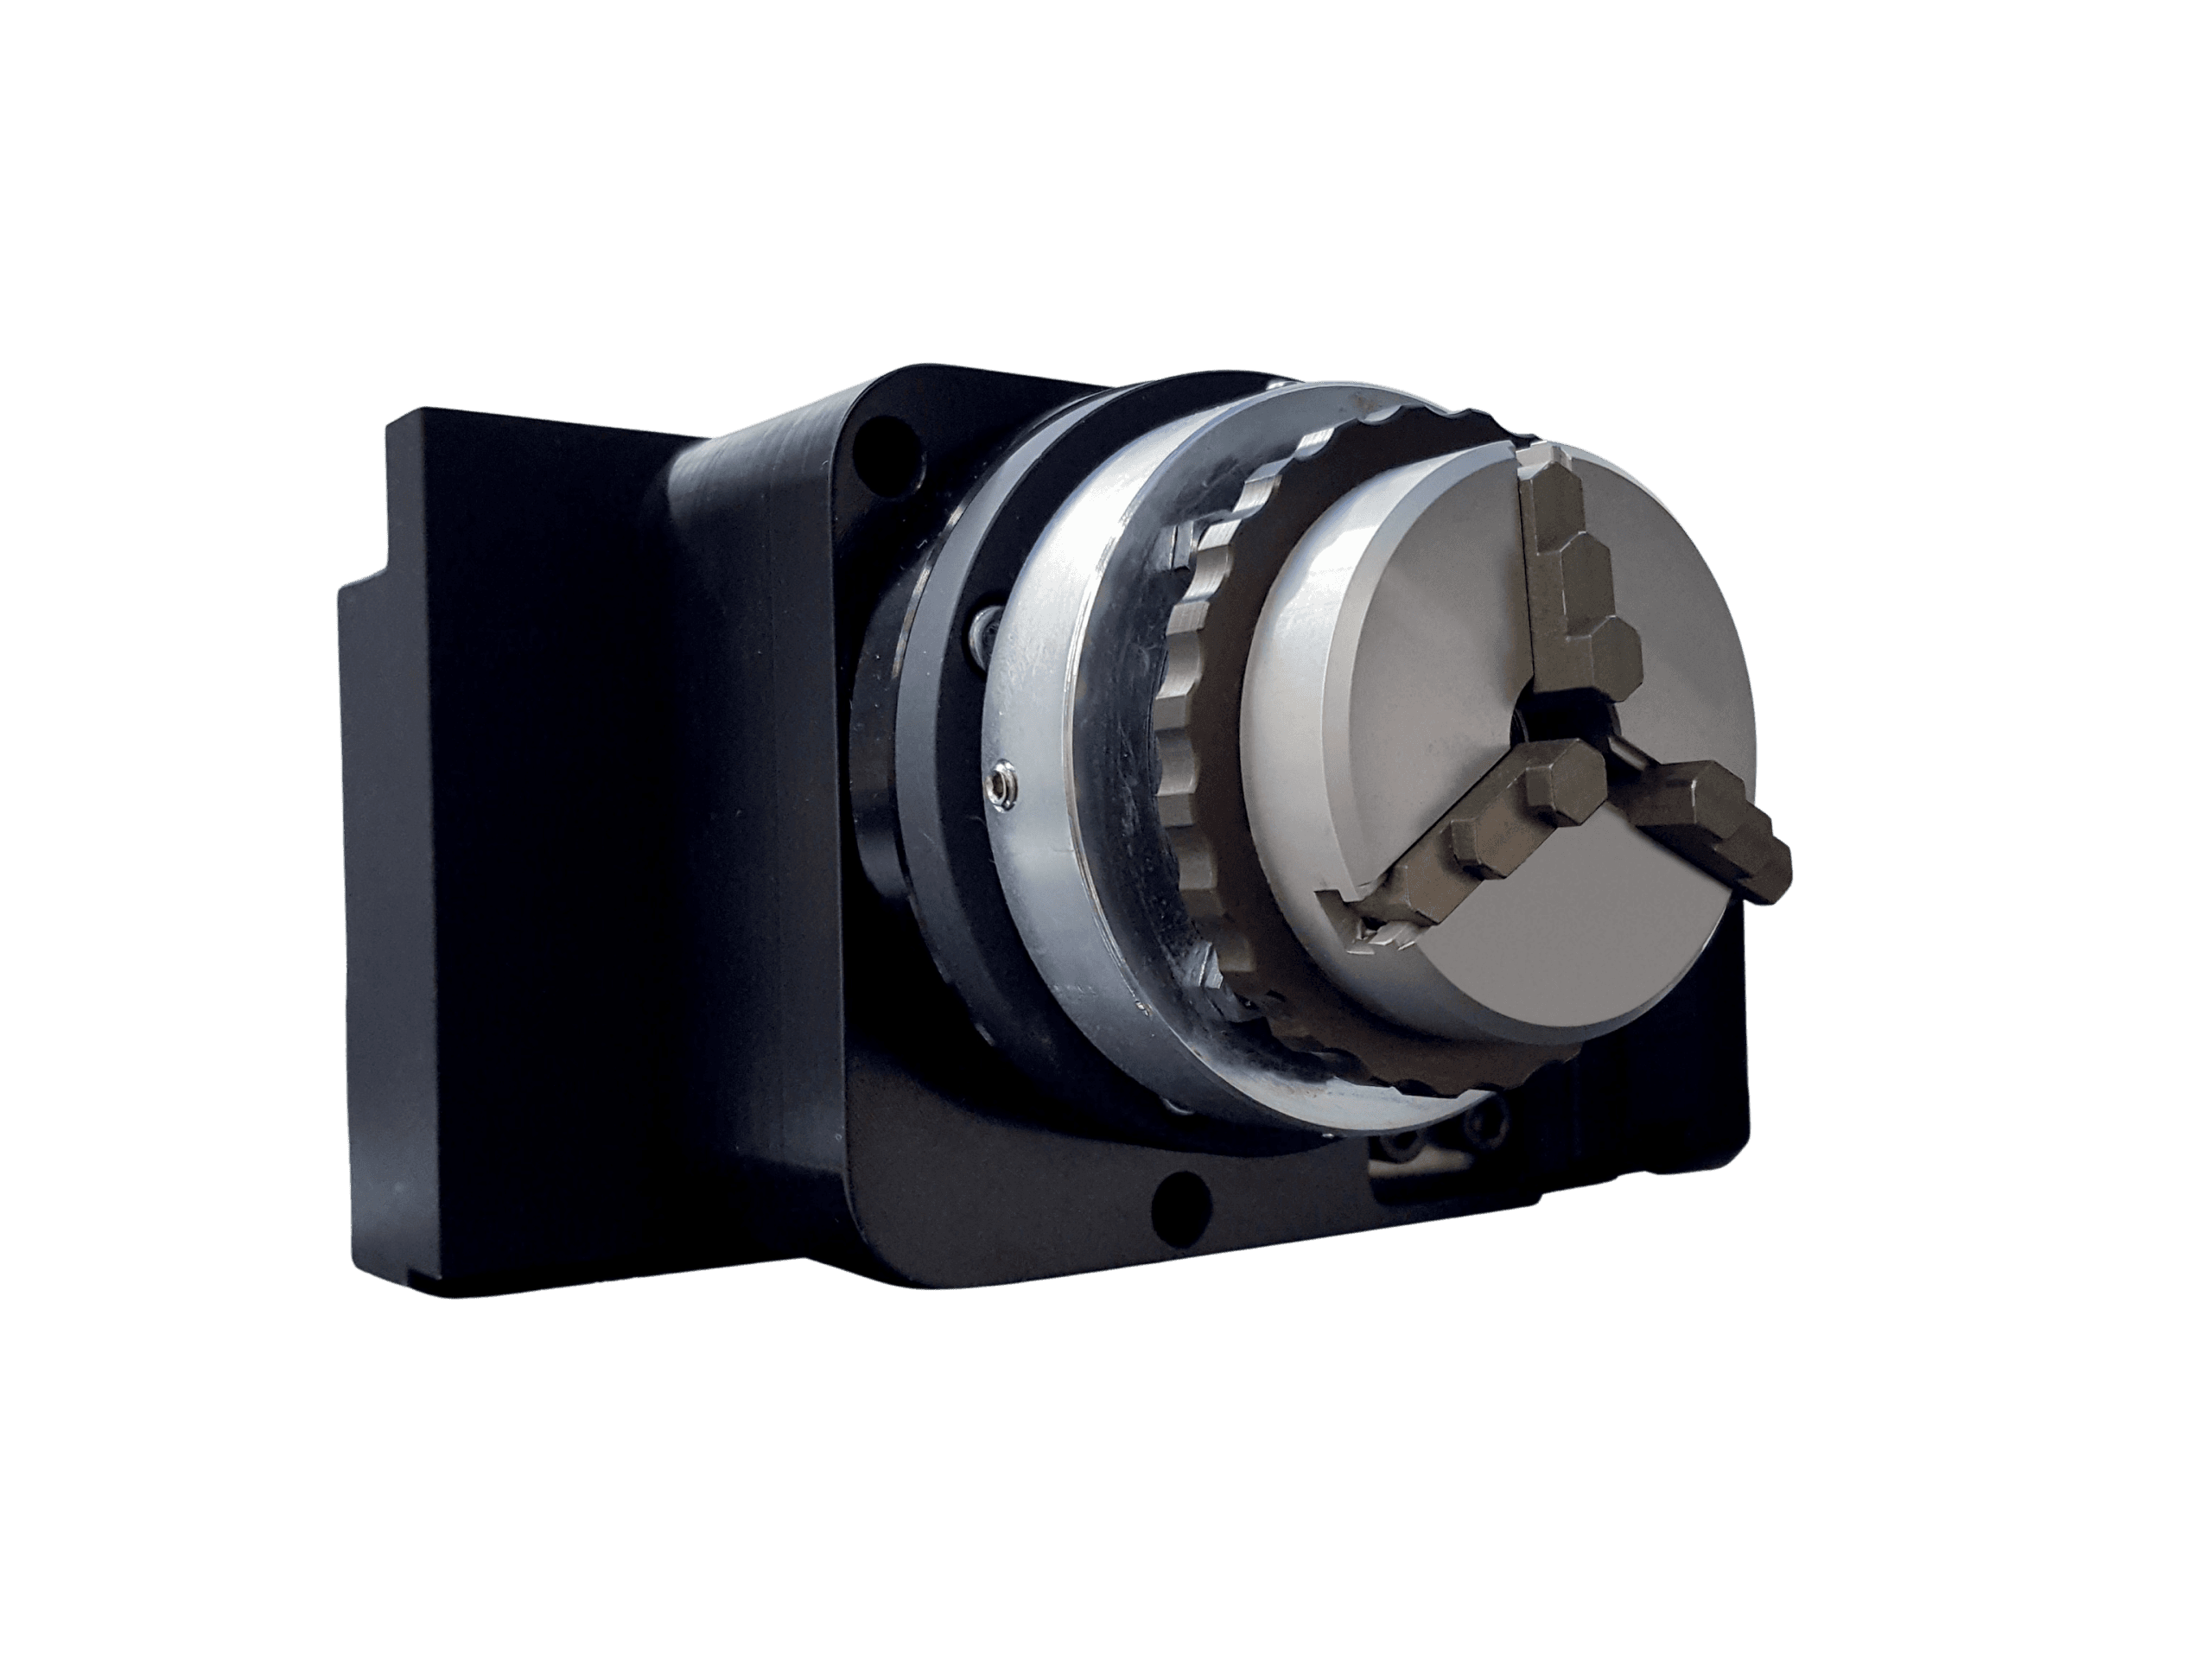
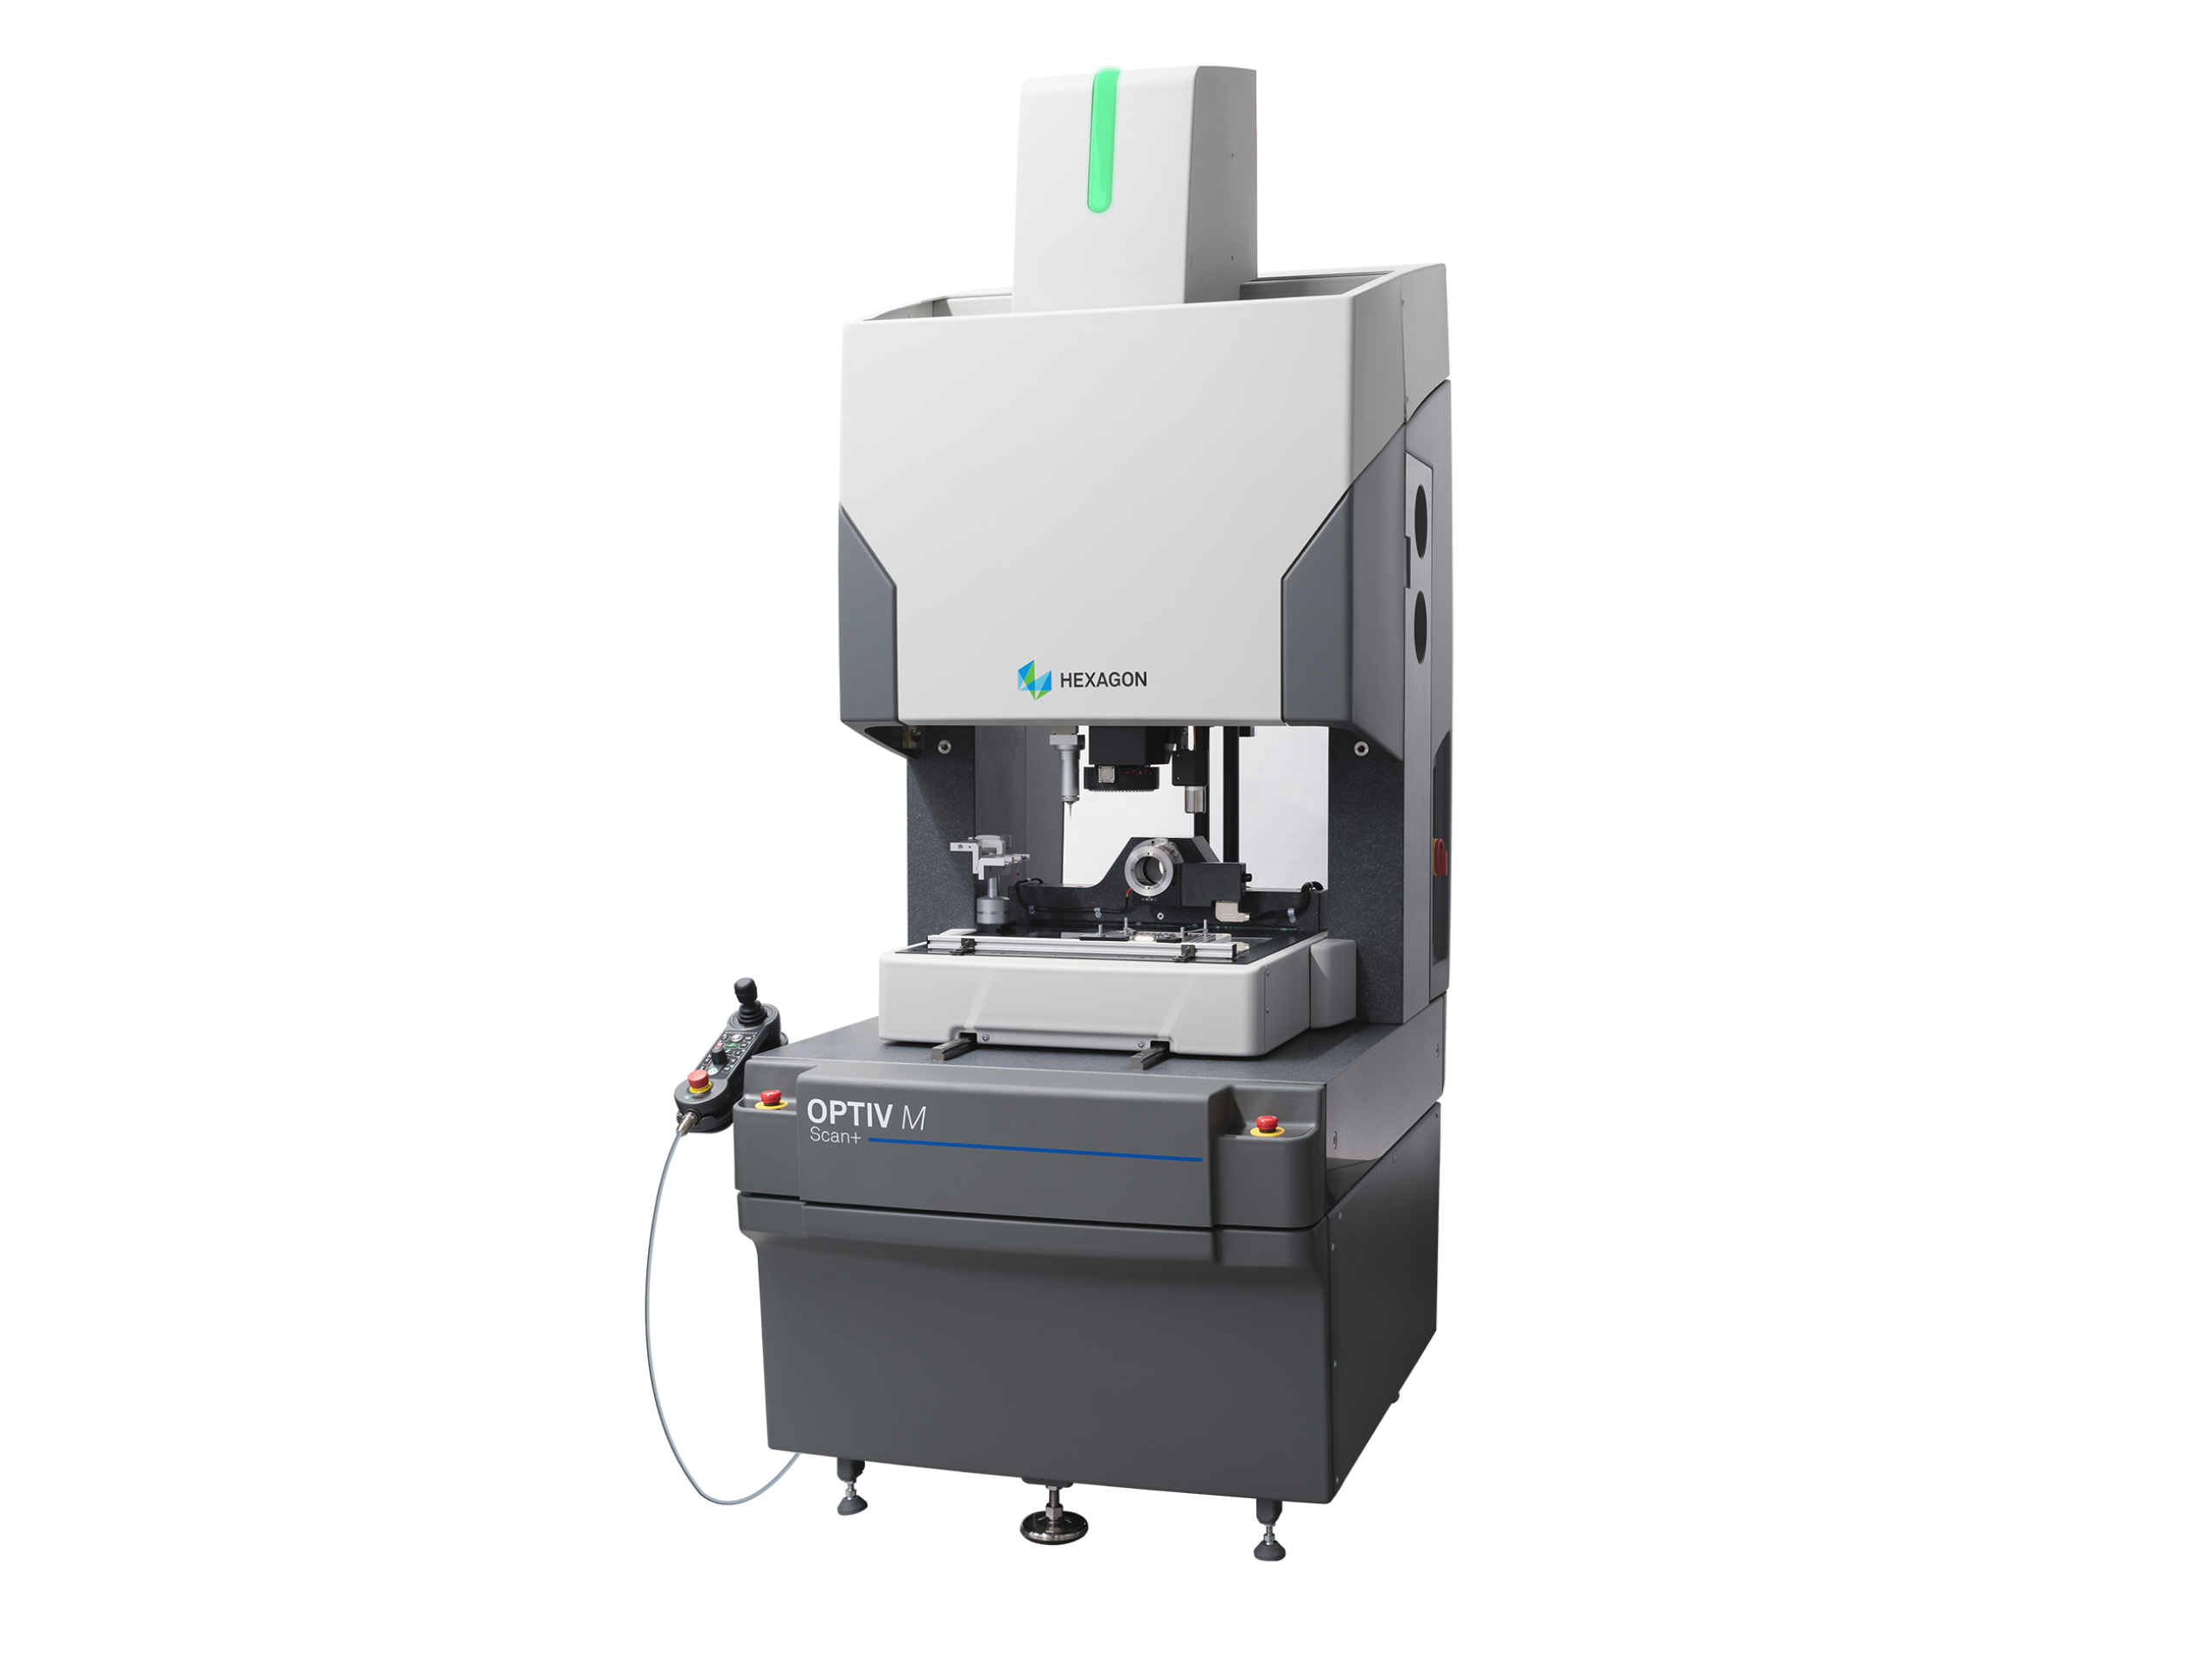
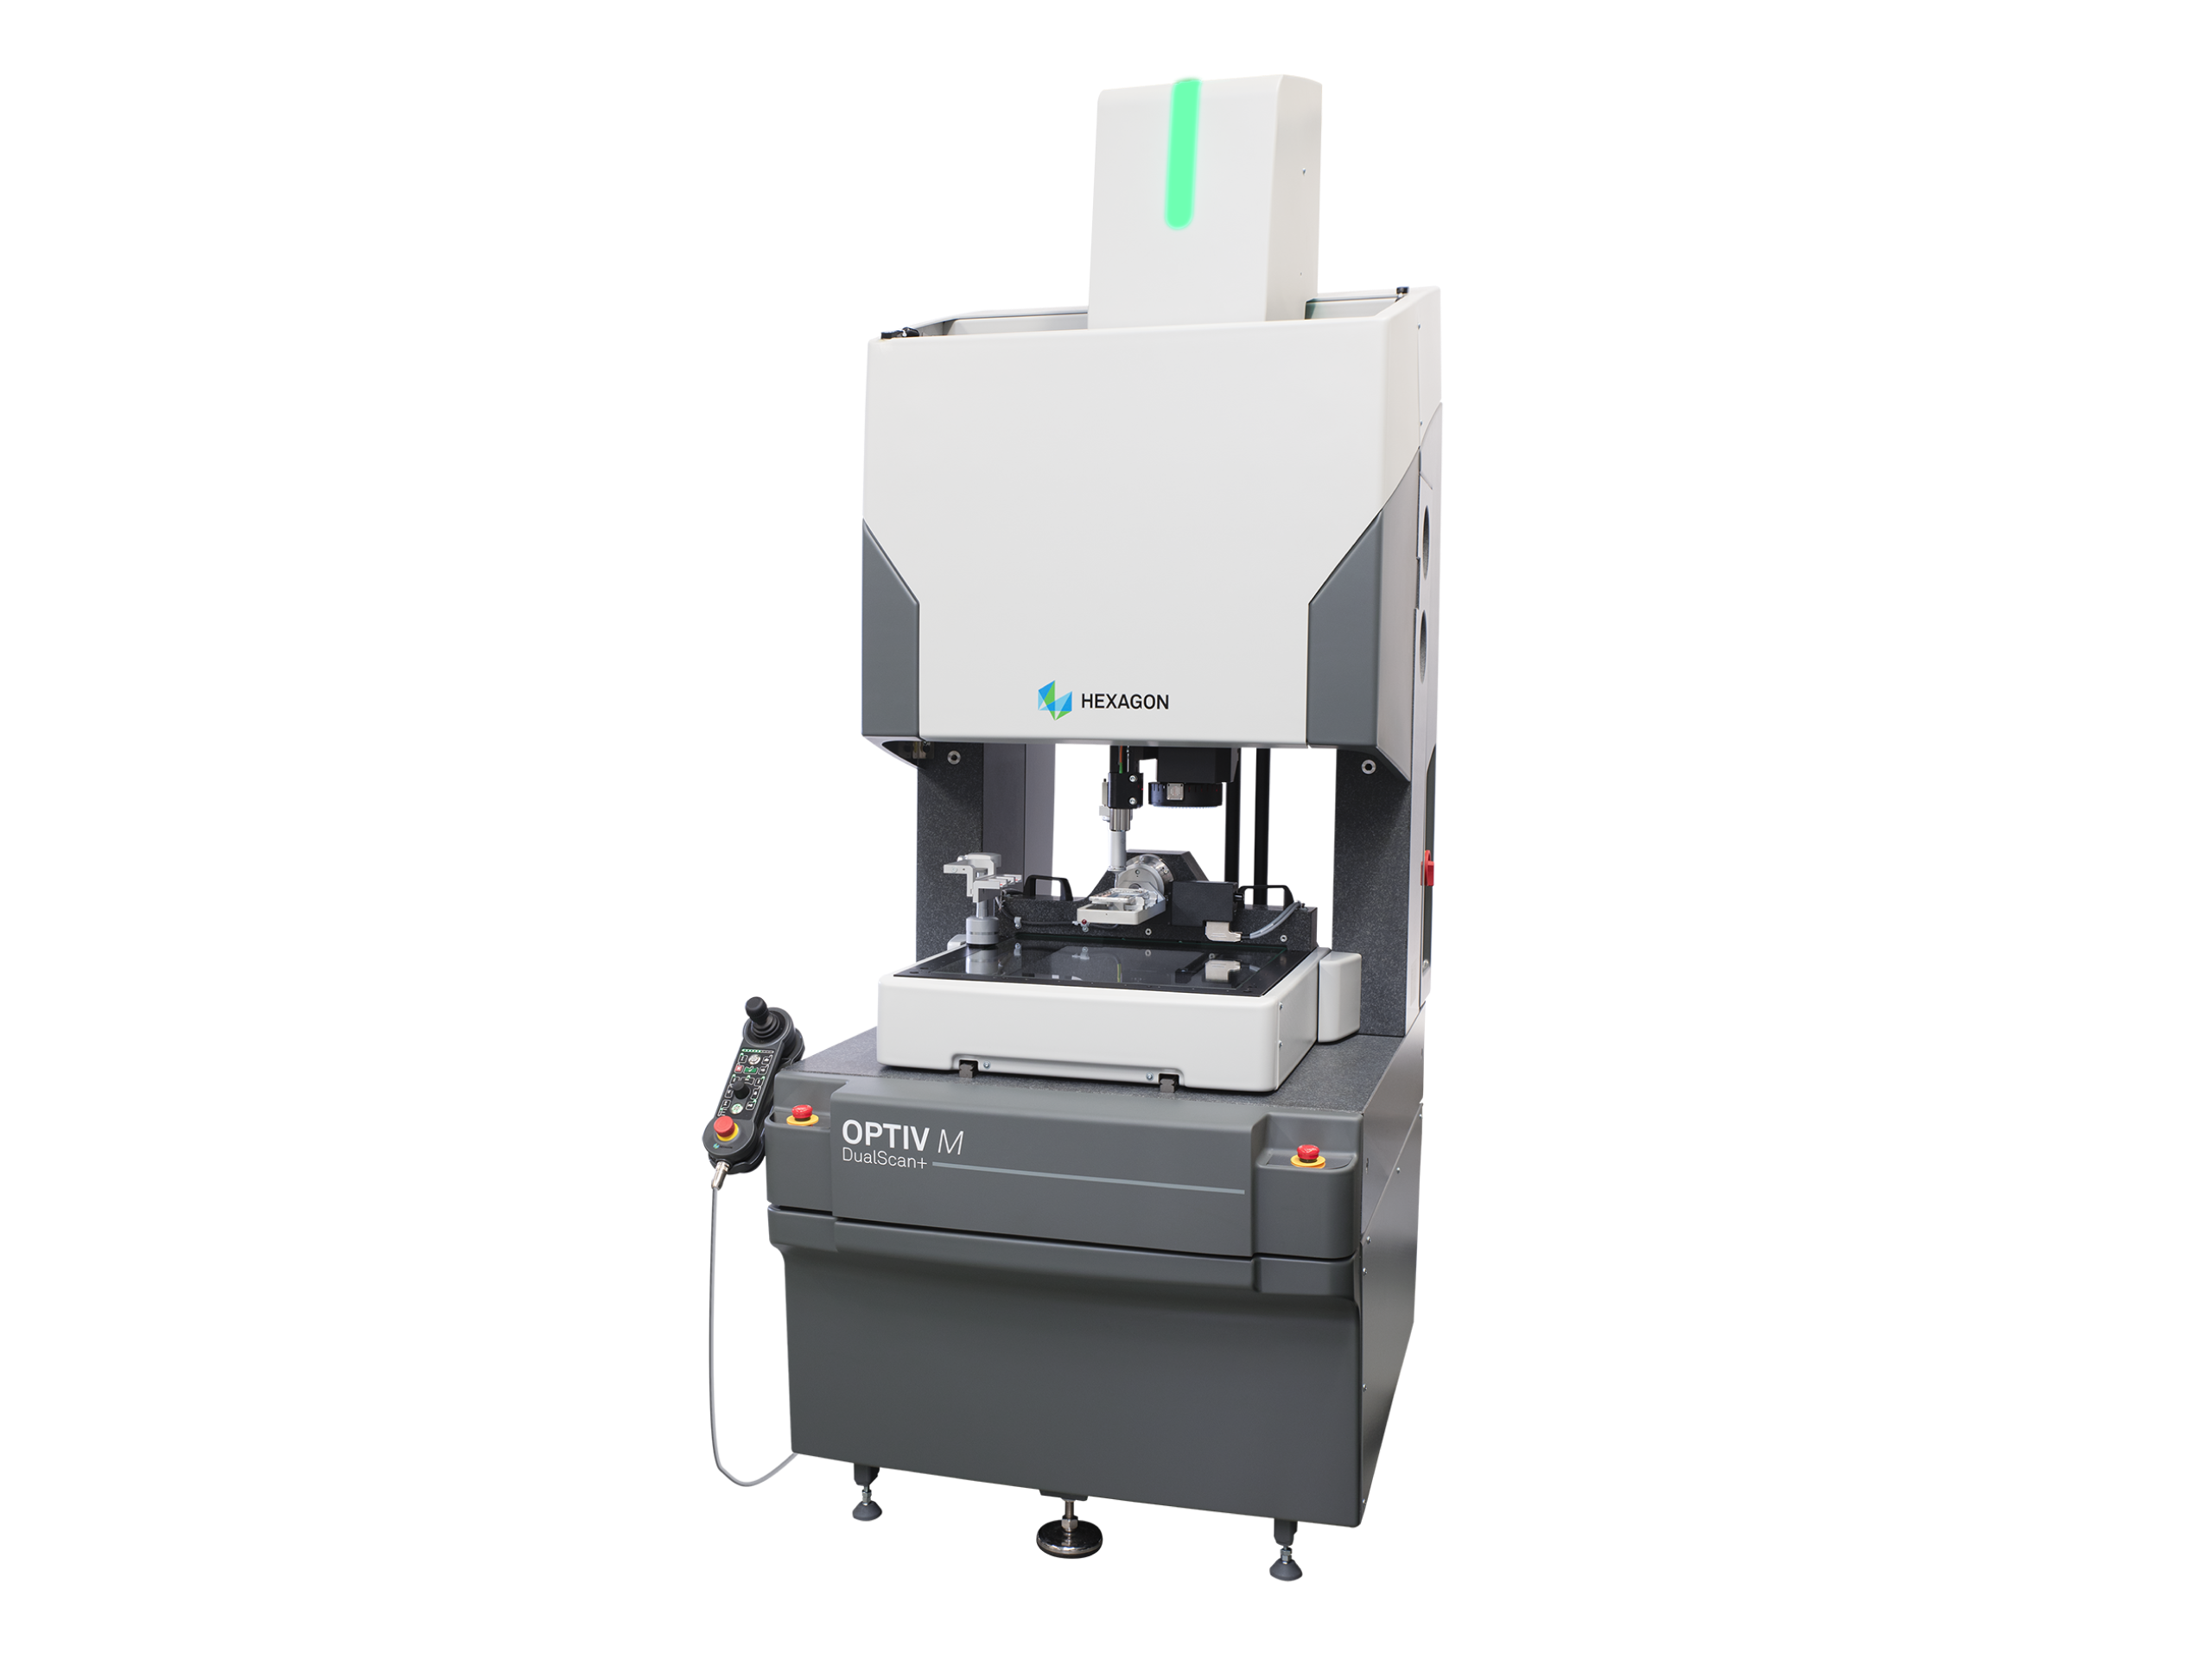
Typically coordinate measurement is at its limits when inspecting parts that require multiple probe changes, such as very small and complex internal gearing. Such parts, as well as crankshafts, camshafts, screw compressors, turbine disks, and blisks, can be measured quite straightforwardly and confidently using a rotary table. These rotary tables are available for use on several CMM models.
The tabletop and base are precision machined / ground from stabilized cast iron with T slots in the platen top. High-quality precision bearings are adjusted to eliminate all movement in both radial and axial directions and operate in a lightly preloaded condition.


