© 2026 Hexagon AB and/or its subsidiaries
© 2026 Hexagon AB and/or its subsidiaries

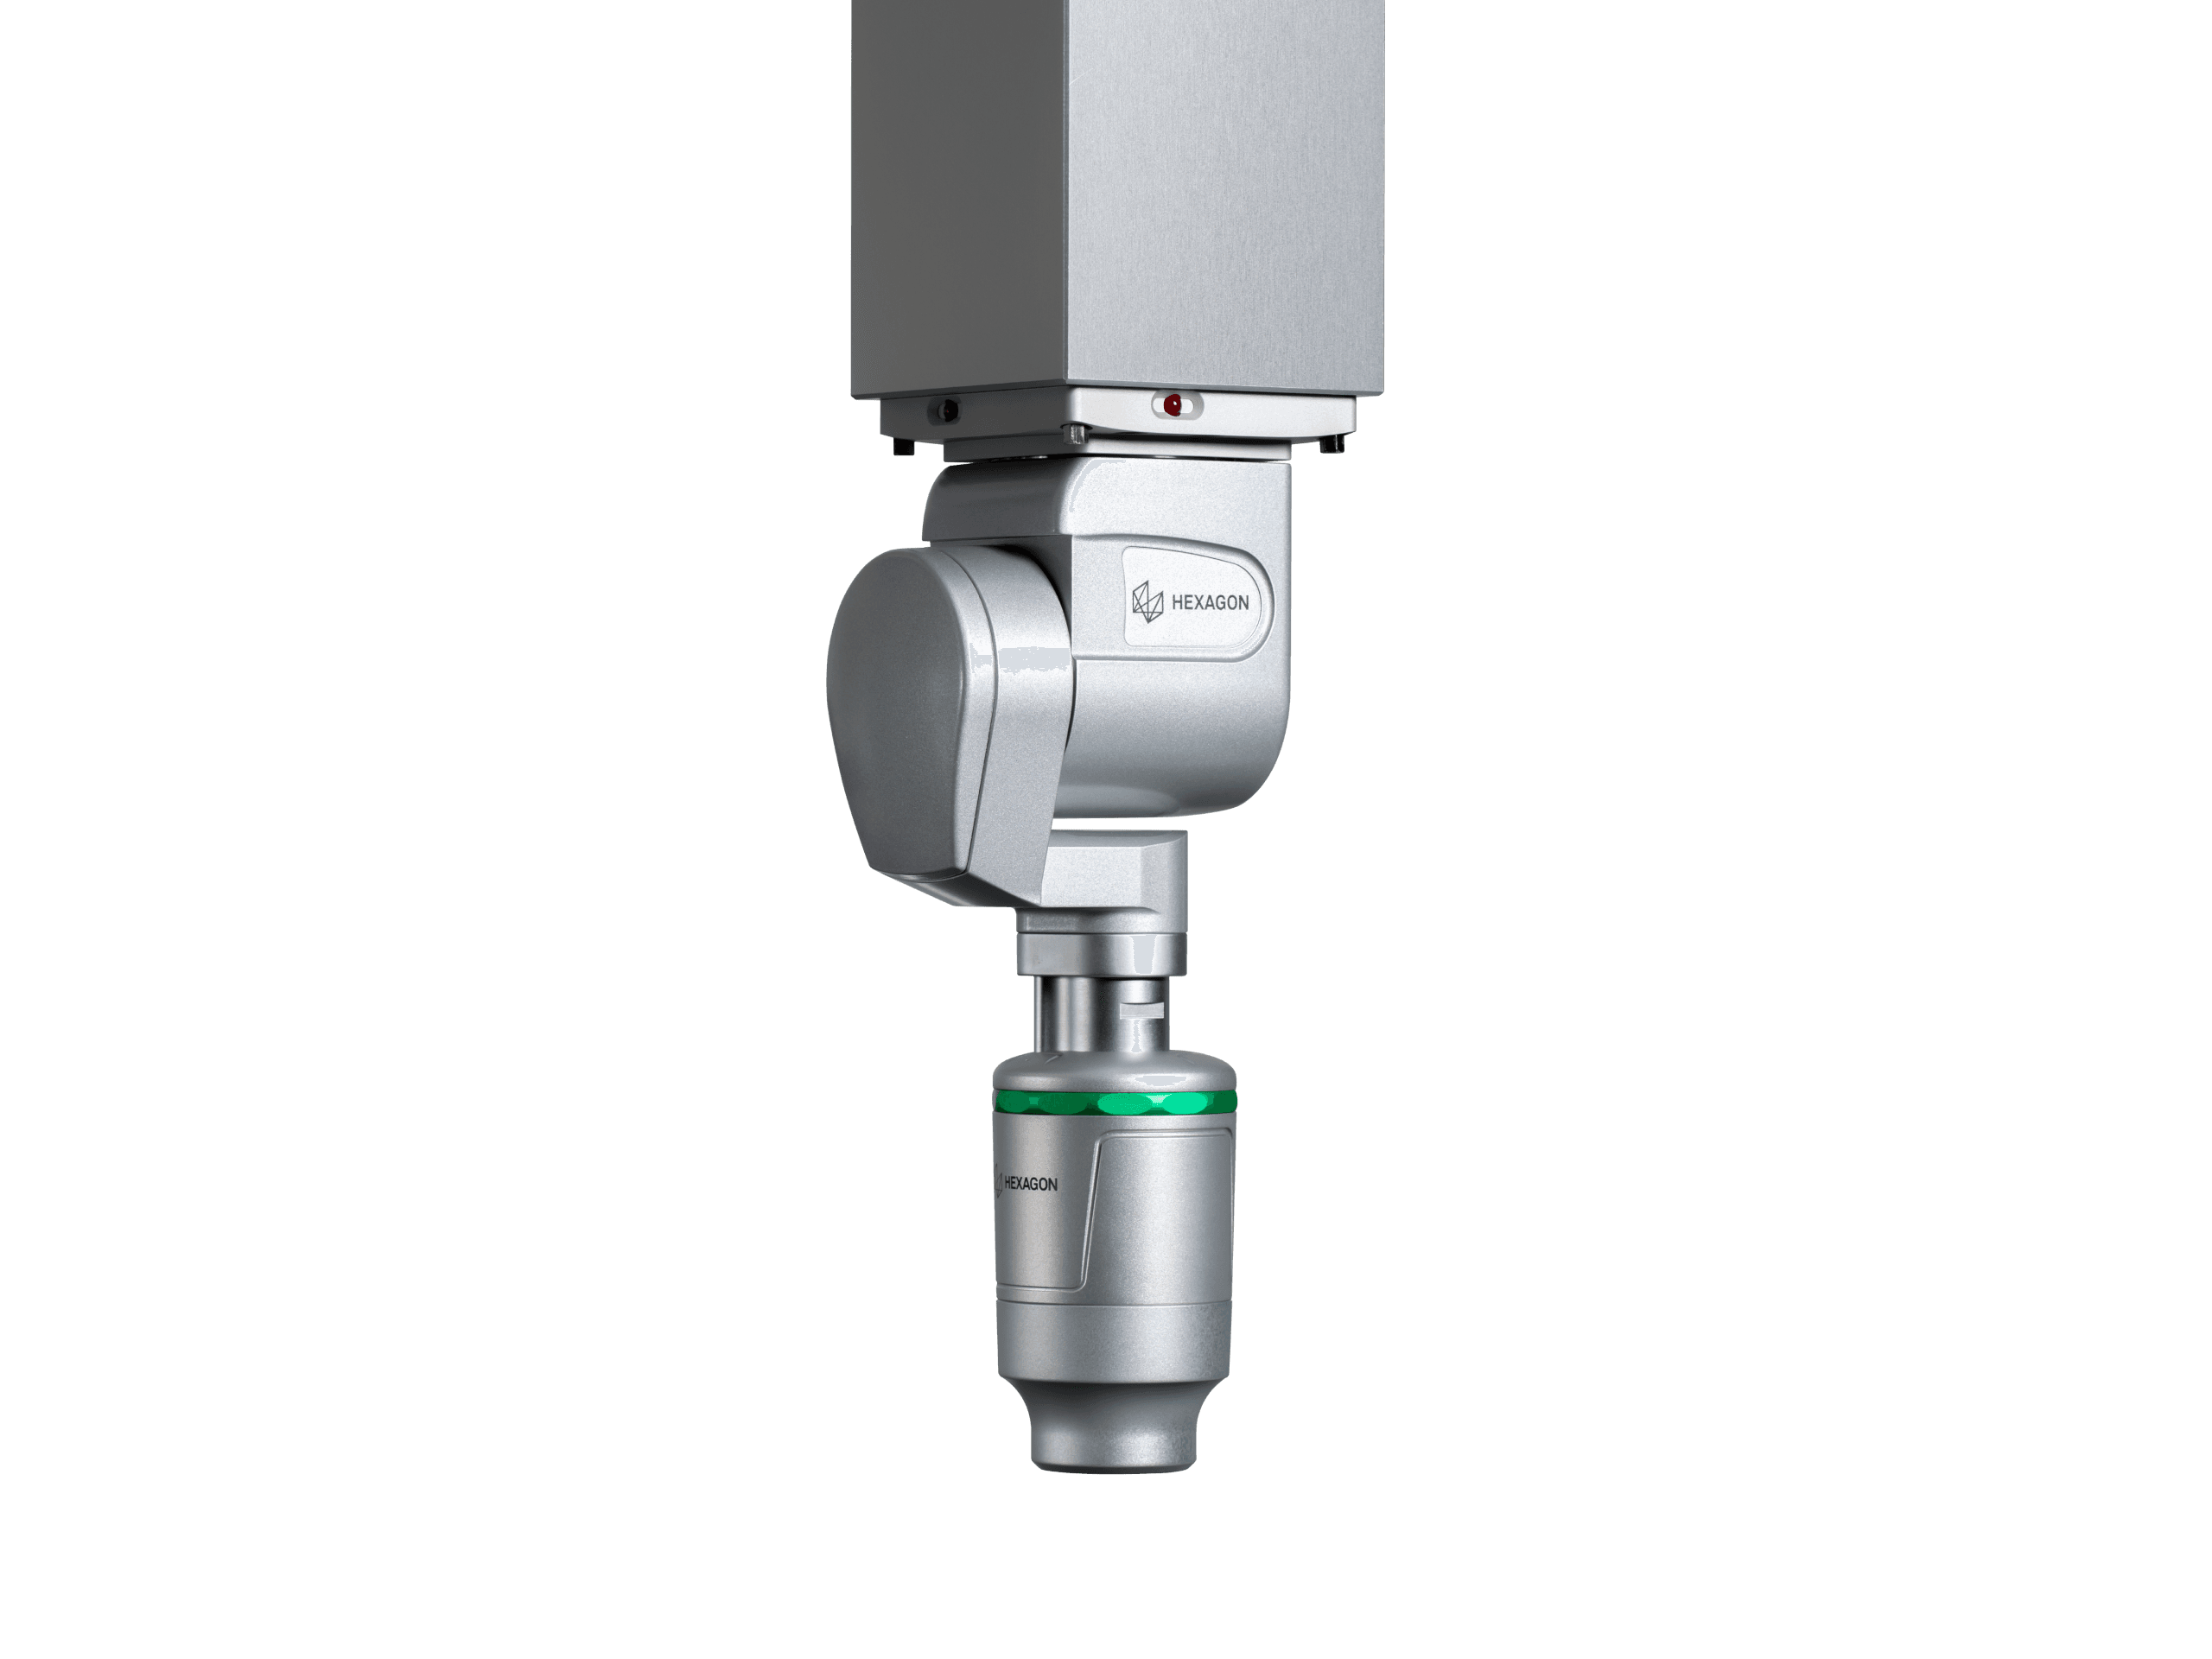
Flexible white-light scanning for multiple surface finishes
The sensor has a measurement range of several millimeters while achieving a resolution in the nanometric range. In combination with a large acceptance angle of up to ±30°, it provides very versatile measurement possibilities, making it ideally suited to measure anything from small features to large surfaces.
HP-OW probes are available in three variations, making it possible to adapt to different measurement ranges, working distances, and other metrology requirements. When combined with the HR-R sensor rack, inspection cycle time is significantly reduced.
Benefits And Features
Challenging surfaces measurement
Measure challenging surfaces such as shiny surfaces, glass and other transparent/reflective or sensitive materials. In addition, the thickness of workpiece areas.
Spiral scan calibration
Spirals over the calibration sphere, resulting in significant reduction of the process time.
Automatic probe exchange
Sensor can be exchanged during the measurement program with different Hexagon sensors to achieve the highest possible levels of flexibility.
Training and Resources
Our team is ready to help
Our technical support teams are on hand to answer your questions. Contact us through our online form and we will get right back to you.

Flexible white-light scanning for multiple surface finishes
The sensor has a measurement range of several millimeters while achieving a resolution in the nanometric range. In combination with a large acceptance angle of up to ±30°, it provides very versatile measurement possibilities, making it ideally suited to measure anything from small features to large surfaces.
HP-OW probes are available in three variations, making it possible to adapt to different measurement ranges, working distances, and other metrology requirements. When combined with the HR-R sensor rack, inspection cycle time is significantly reduced.
HP-OW Optical Sensor Specifications
| Measuring range | |
|---|---|
2 mm (HP-OW-2.14) 2 mm (HP-OW-2.61) 3 mm (HP-OW-3.22) | |
| Working distance | |
14.1 mm (HP-OW-2.14) 61 mm (HP-OW-2.61) 22.5 mm (HP-OW-3.22) | |
| Spot diameter | |
12 μm (HP-OW-2.14) 12.5 μm (HP-OW-2.61) 12 μm (HP-OW-3.22) | |
| Resolution in Z direction | |
66 nm (HP-OW-2.14) 66 nm (HP-OW-2.61) 100 nm (HP-OW-3.22) | |
| Acceptance angle | |
+/- 30° (HP-OW-2.14) +/- 15° (HP-OW-2.61) +/- 30° (HP-OW-3.22) | |
| Max. thickness | |
3 mm (HP-OW-2.14) 3 mm (HP-OW-2.61) 4.5 mm (HP-OW-3.22) | |
| Mounting | |
HH-AS8-OWT2.5 (HP-OW-2.14) HH-AS8-OWT2.5 (HP-OW-2.61) HH-F-OWT (HP-OW-3.22) | |
| Probing size error | |
4.6 μm (HP-OW-2.14) 4.6 μm (HP-OW-2.61) 5 μm (HP-OW-3.22) |
Take advantage of various learning opportunities
Visit the Nexus Academy Catalog for a complete list of educational content. You can enroll for training, complete self-paced courses, register for distance learning, classroom instruction, live training events, and download or print your completion certificate.

Dive into our documentation to explore the full potential of our product offerings
Your ultimate resource for practical guidance and support. Here you’ll find a wealth of step-by-step how-to guides, detailed tutorials, and handy tips and tricks. Whether you’re troubleshooting an issue or looking for ways to optimize your use of our products, our Documentation Center provides clear and concise information to help you get the most out of your experience.

Downloads are only available on the desktop version. Please access our site from a desktop to download.
This product does not offer any software downloads.