System upgrade week commencing 30 March 2026. If you’re using older versions of RADAN Bending, WORKNC, ESPRIT EDGE, DESIGNER, EDGECAM, or VISI, you’ll need to update to a compatible version (2025.4+ / 2026.1+) to keep accessing Nexus. If you need any help, please reach out to support.
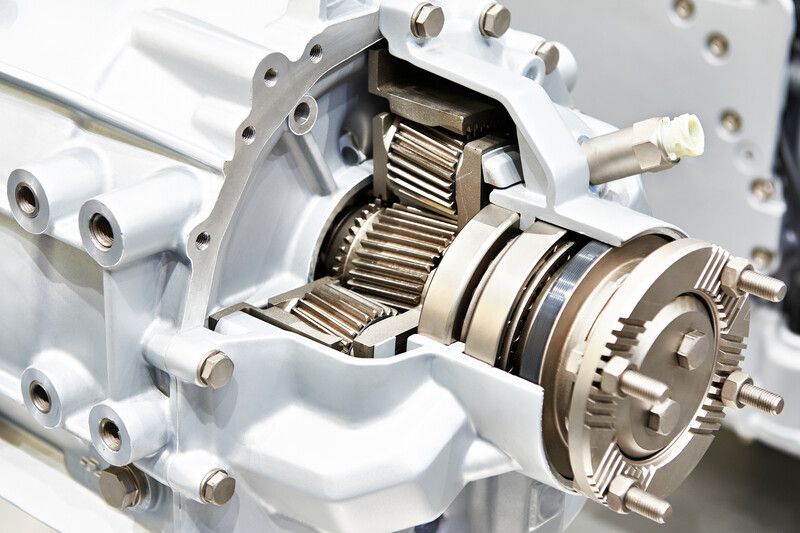
Innovative inspection of gearbox housings
Geometrical and freeform elements of the housings are captured with ultra-high accuracy measurement methods, and the evaluation of the GD&T features is carried out with metrology software.

The gear box housings are very large (up to 2500 mm) and heavy (4t). They have difficult-to-access features that still need to be measured with very high accuracy for final part inspection. In addition, the part temperature influences the size and shape significantly and the time to climatize for such large parts can be lengthy.
This solution reduces cost-intensive downtimes by inspecting heavy gearbox housings with ultra-high accuracy, enabling the evaluation of features with very tight tolerances.

Our approach
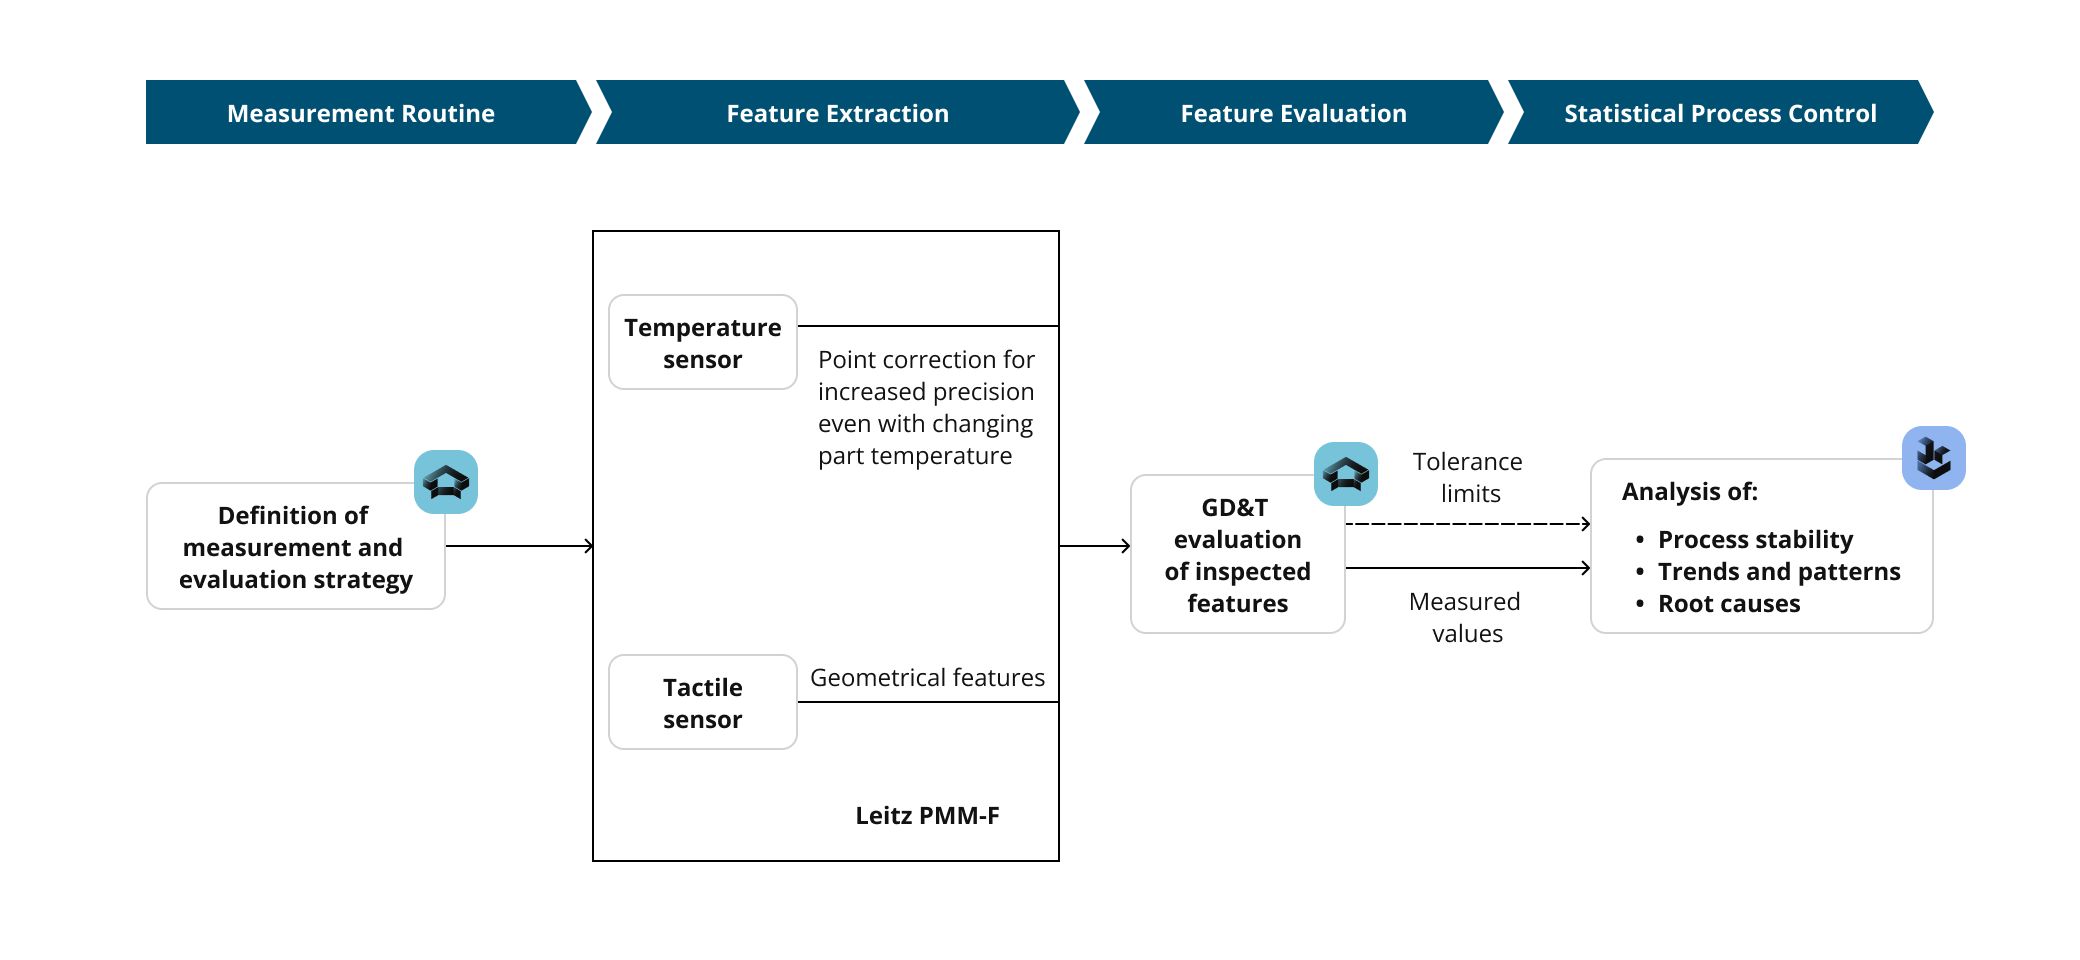
Feature Extraction
The housing is placed on the machine in a predefined position, ensuring that every feature can be accessed with the probe. After automated alignment of the part and reading of the part’s temperature by the CMM, the measuring process starts and all defined features are measured. Depending on the location of the features on the part, long styli configuration can be required for the insertion depth to reach the feature. Geometrical and freeform elements are captured, either using single point probing or scanning methods.
The actual temperature of the housing,(that is captured before the measurement procedure is started), is applied to the measured points and evaluations, ensuring the same measured points are taken at arbitrary temperatures at any time.
Automated Measurement
Automatic measurement routines can be created as soon as more than one part of the same type needs to be inspected. The automated measurement process enables a fast and easy part inspection without any user interaction. It also supports a maximum machine utilization for the measurement of tightly tolerance housings with internal, difficult-to-access features.
Statistical Process Control
For all inspected features, the measured actual values and their tolerance limits are transferredto Q-DAS qs-STAT for Statistical Process Control. Q-DAS qs-STAT assesses the stability of the manufacturing process based on norms, standards, association, and company guidelines. It identifies possible trends or patterns resulting from systematic changes in the manufacturing process early on and allows analysis oftheir root causes.
In Summary
This approach reduces cost-intensive downtimes by inspecting heavy gearbox housings with ultra-high accuracy, permitting the evaluation of features with very tight tolerances.
© 2026 Hexagon AB and/or its subsidiaries