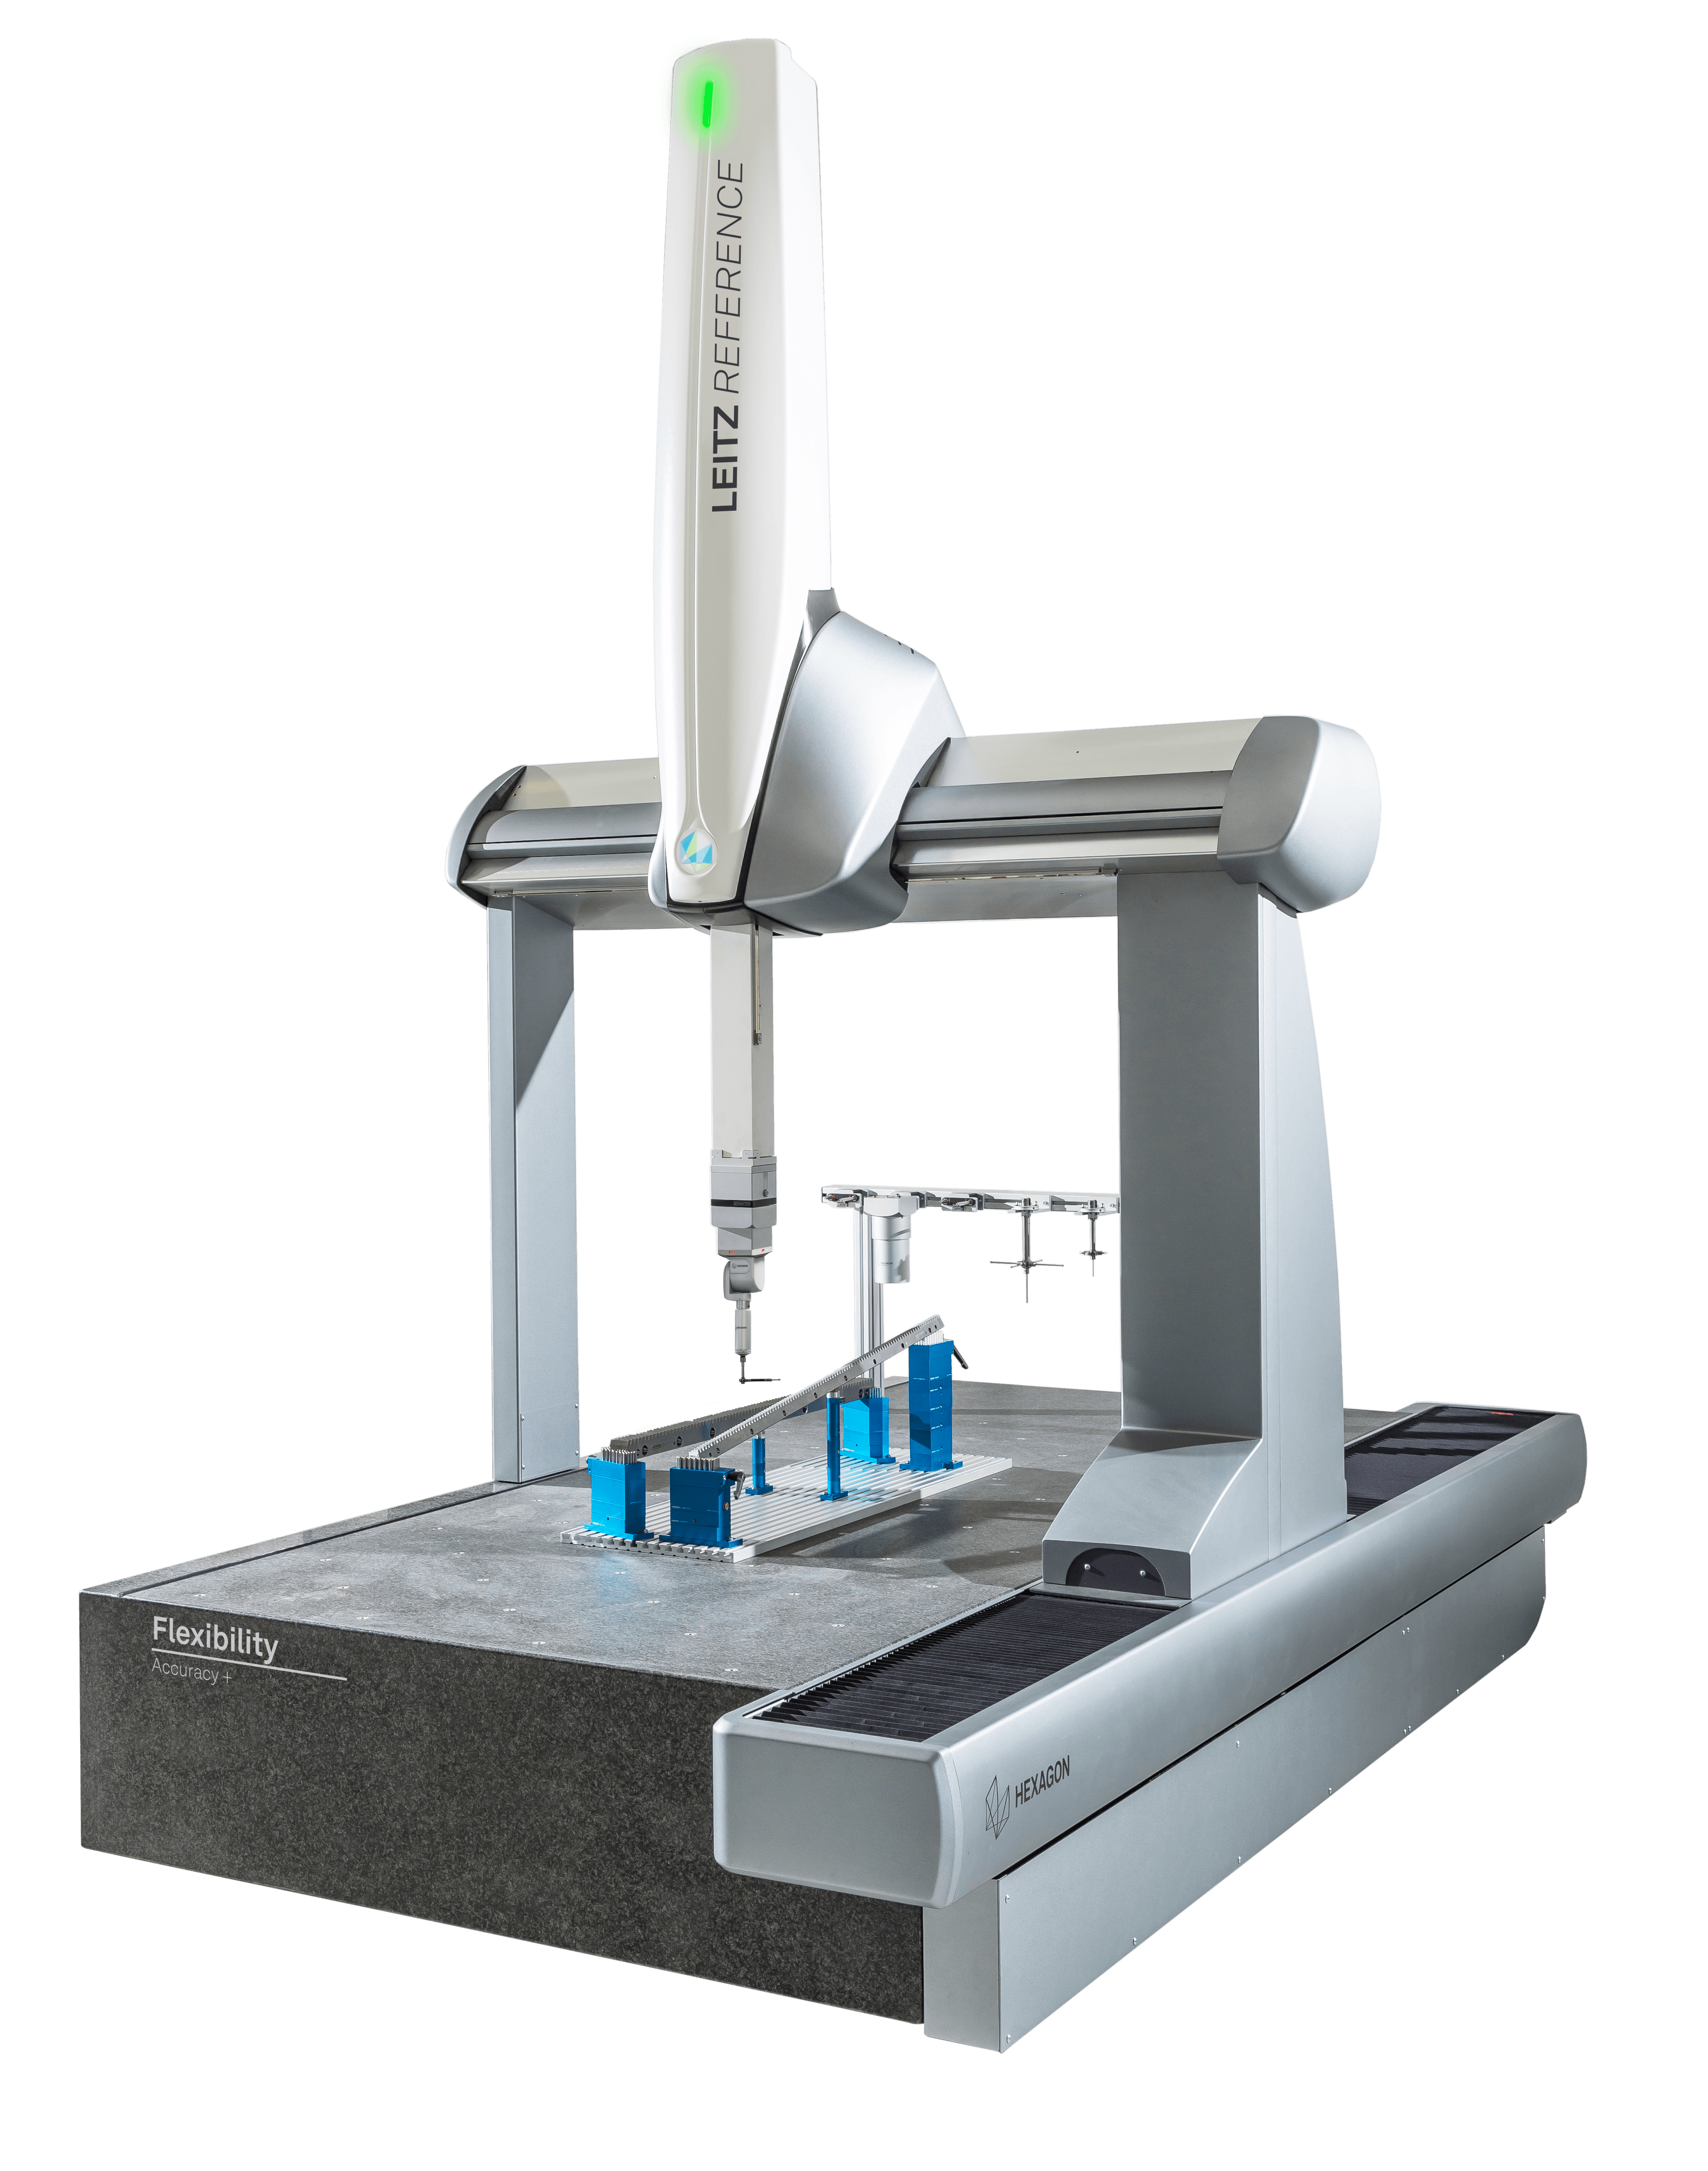
Leitz Reference Flexibility

High-precision measurements of tight tolerance parts with maximum application adaptability.

harware-info-image

Smart sensor automation to boost the efficiency of your measurement cycles

Leitz Reference Flexibility builds upon the capabilities of the Precision configuration to boost the machine’s adaptability to more challenging measurement tasks and decrease cycle time.

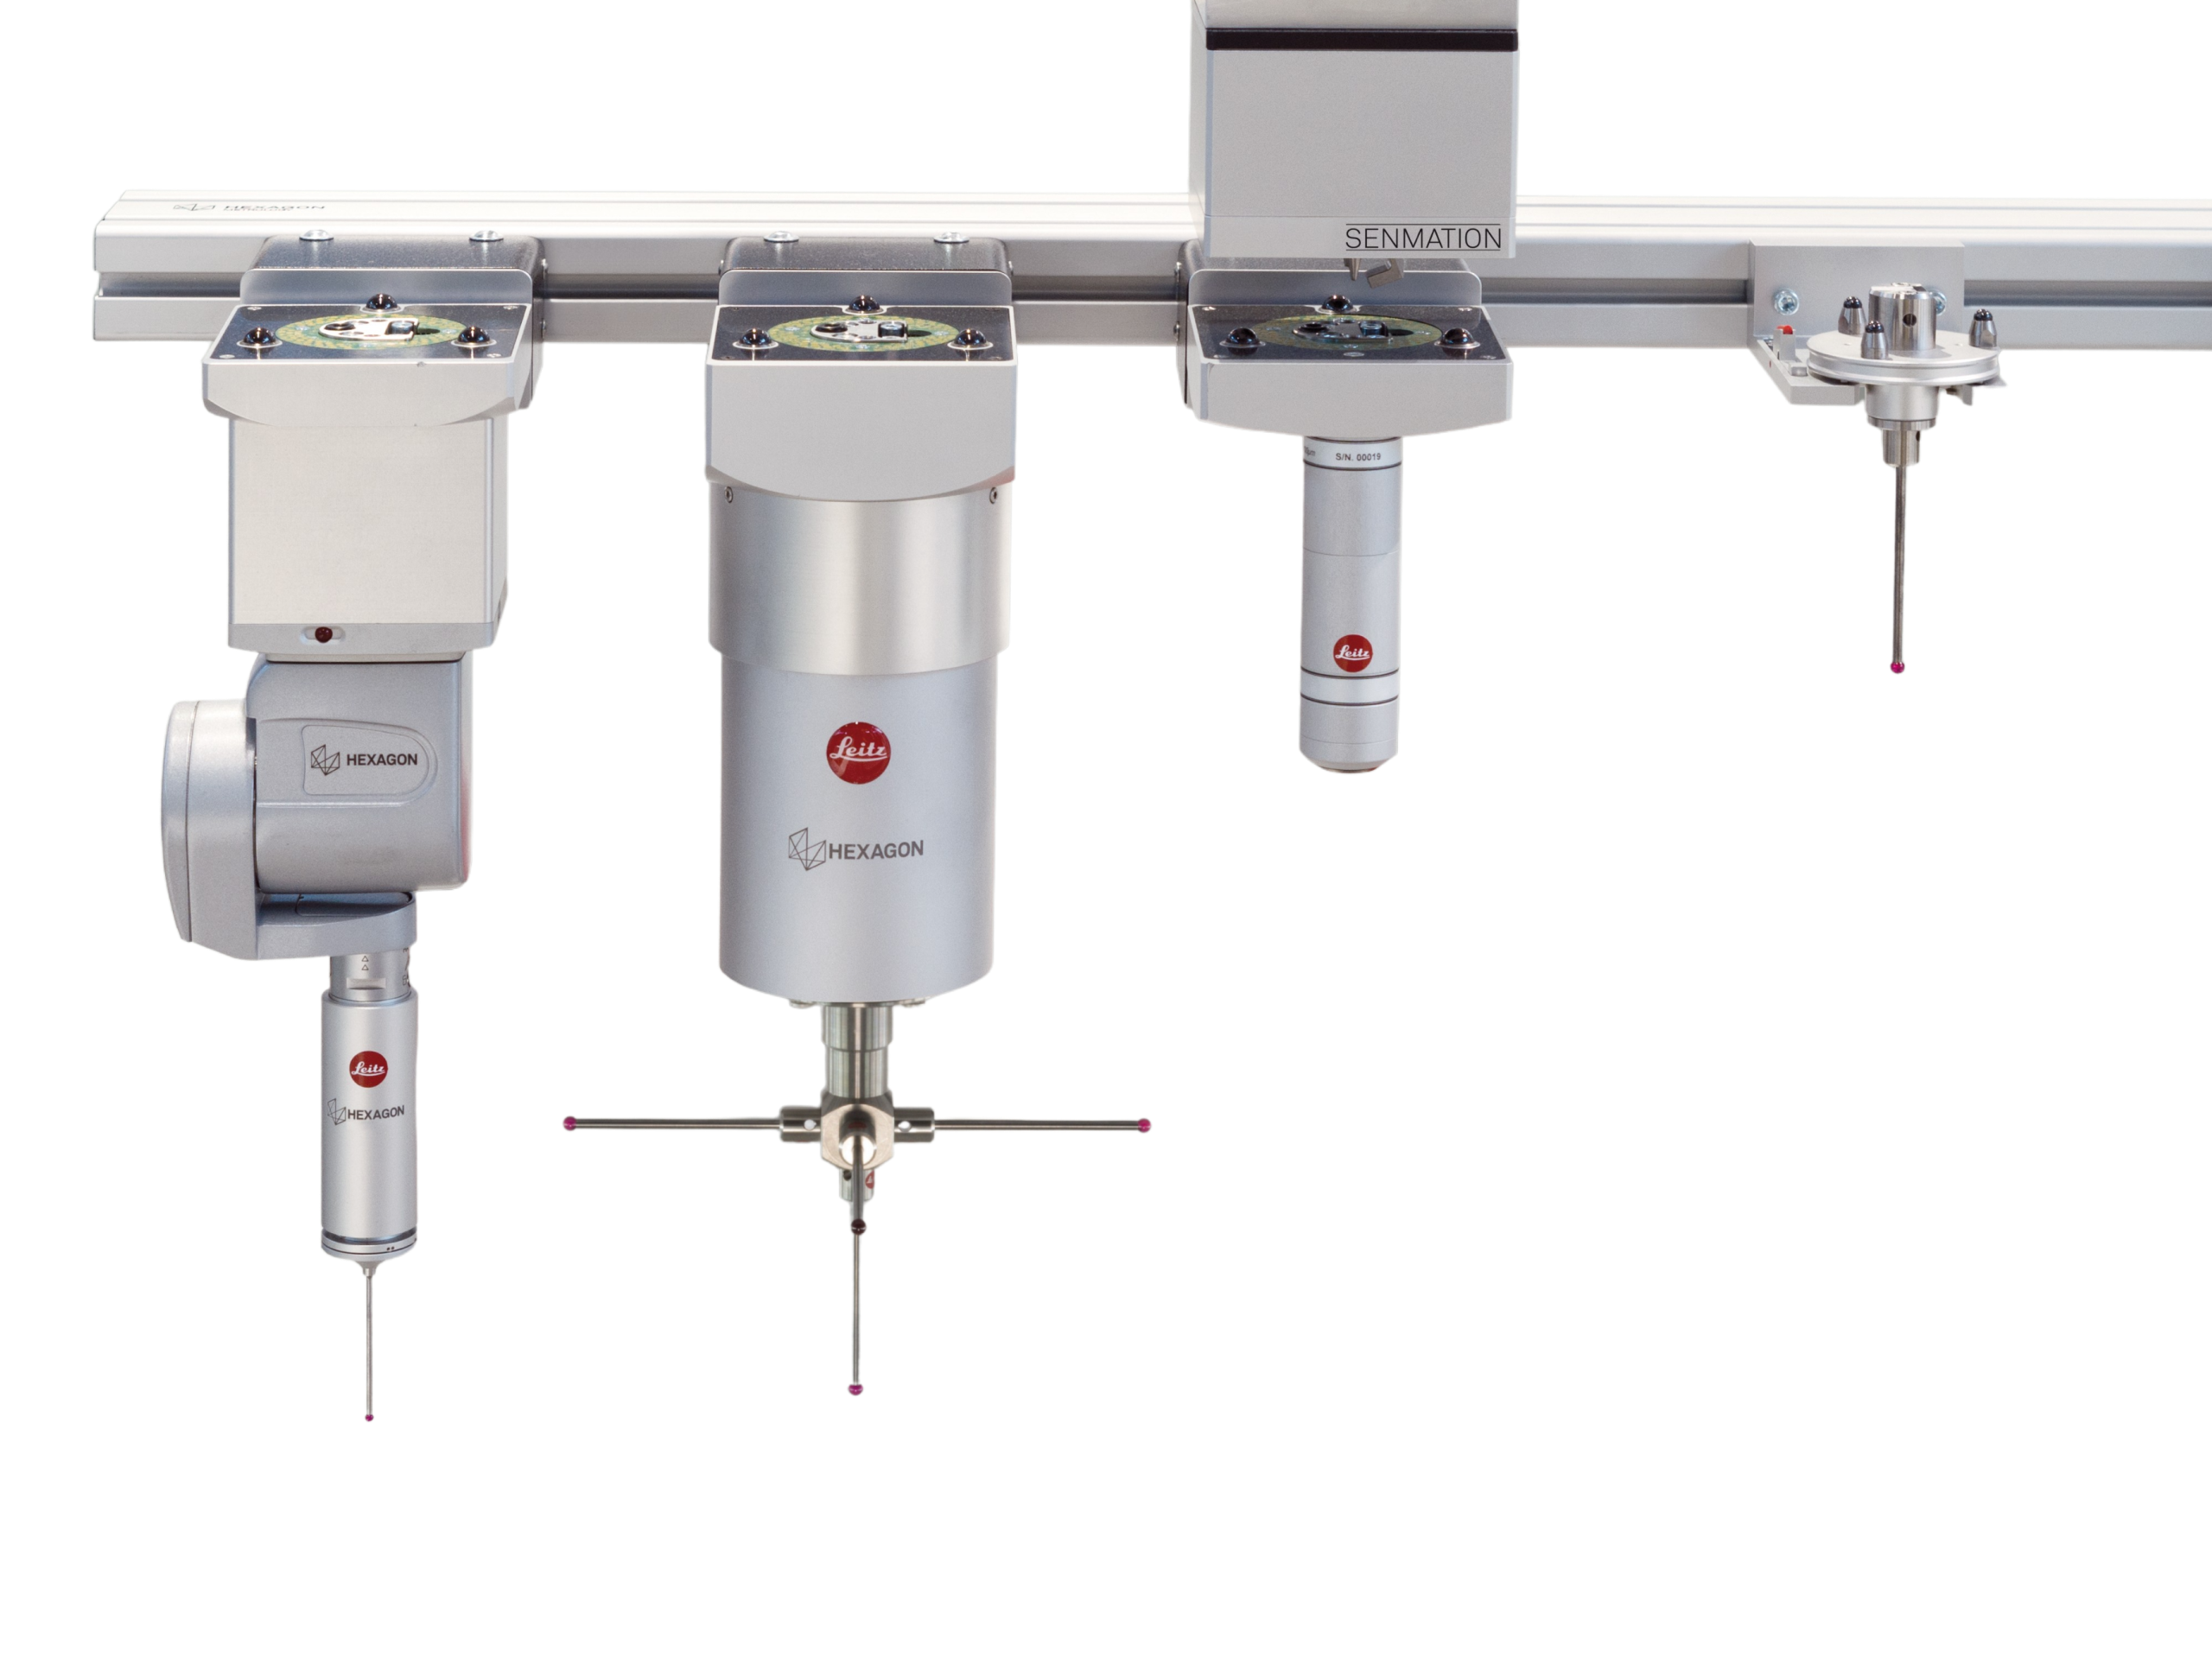
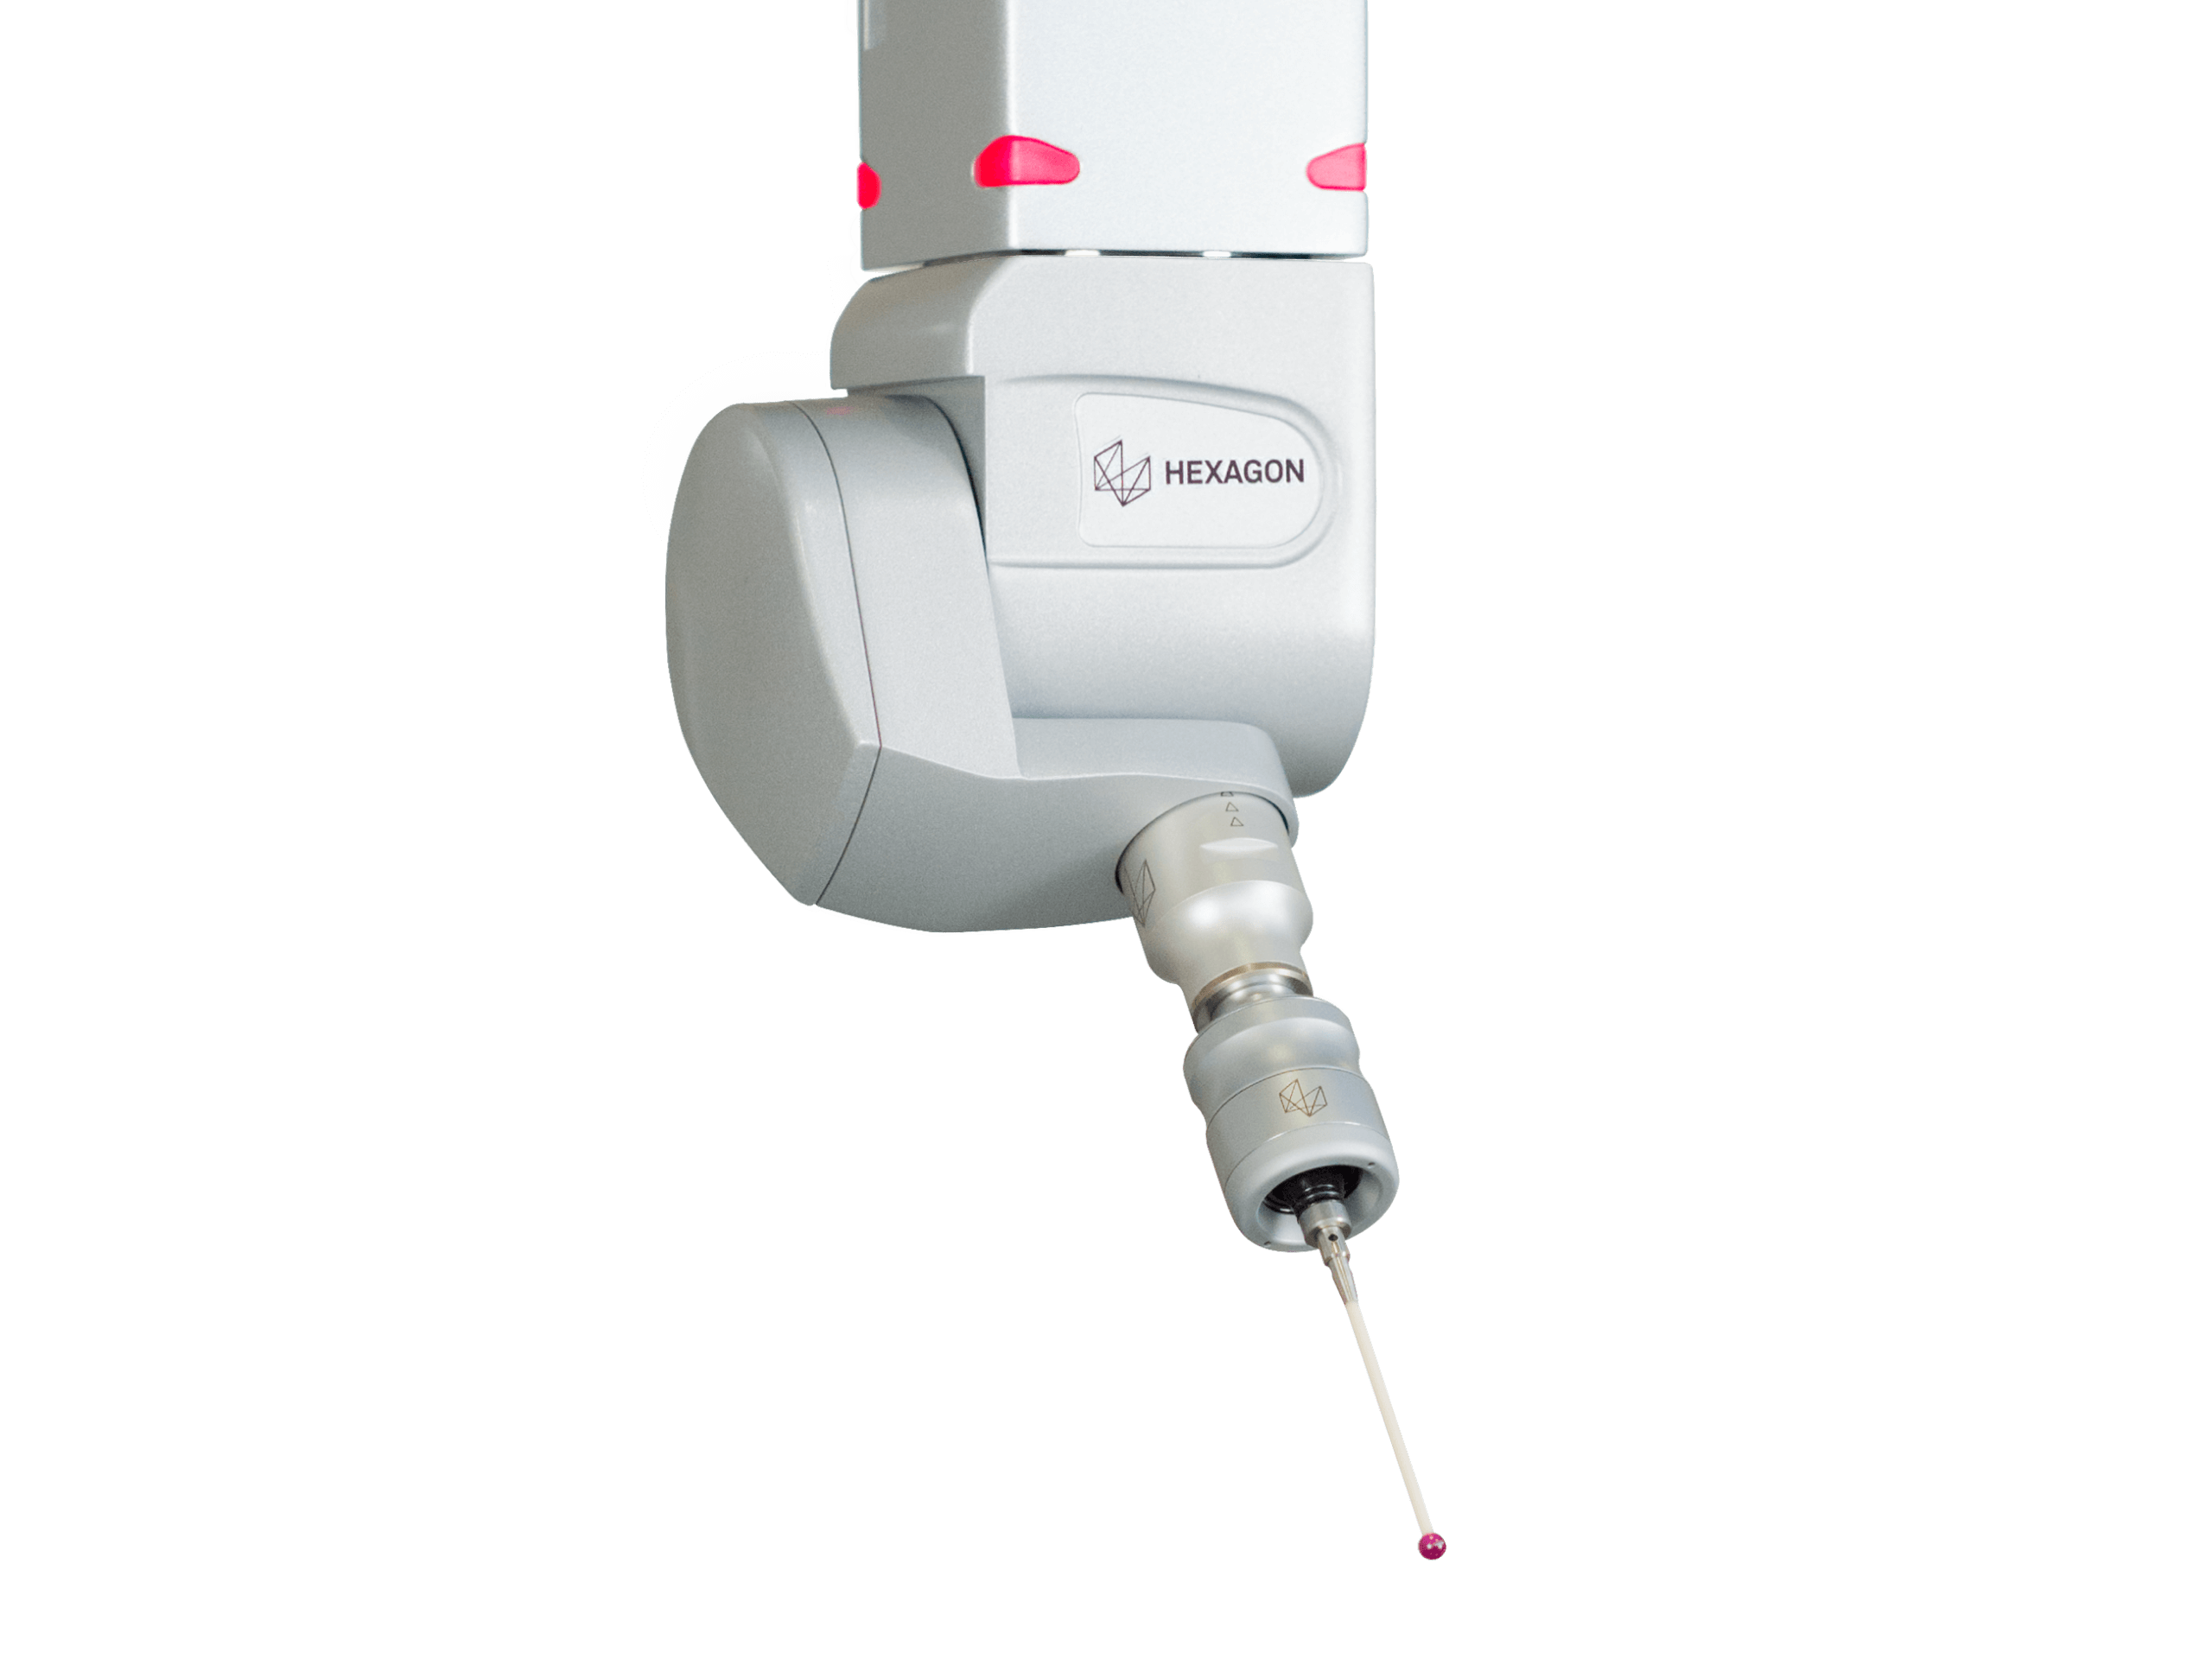
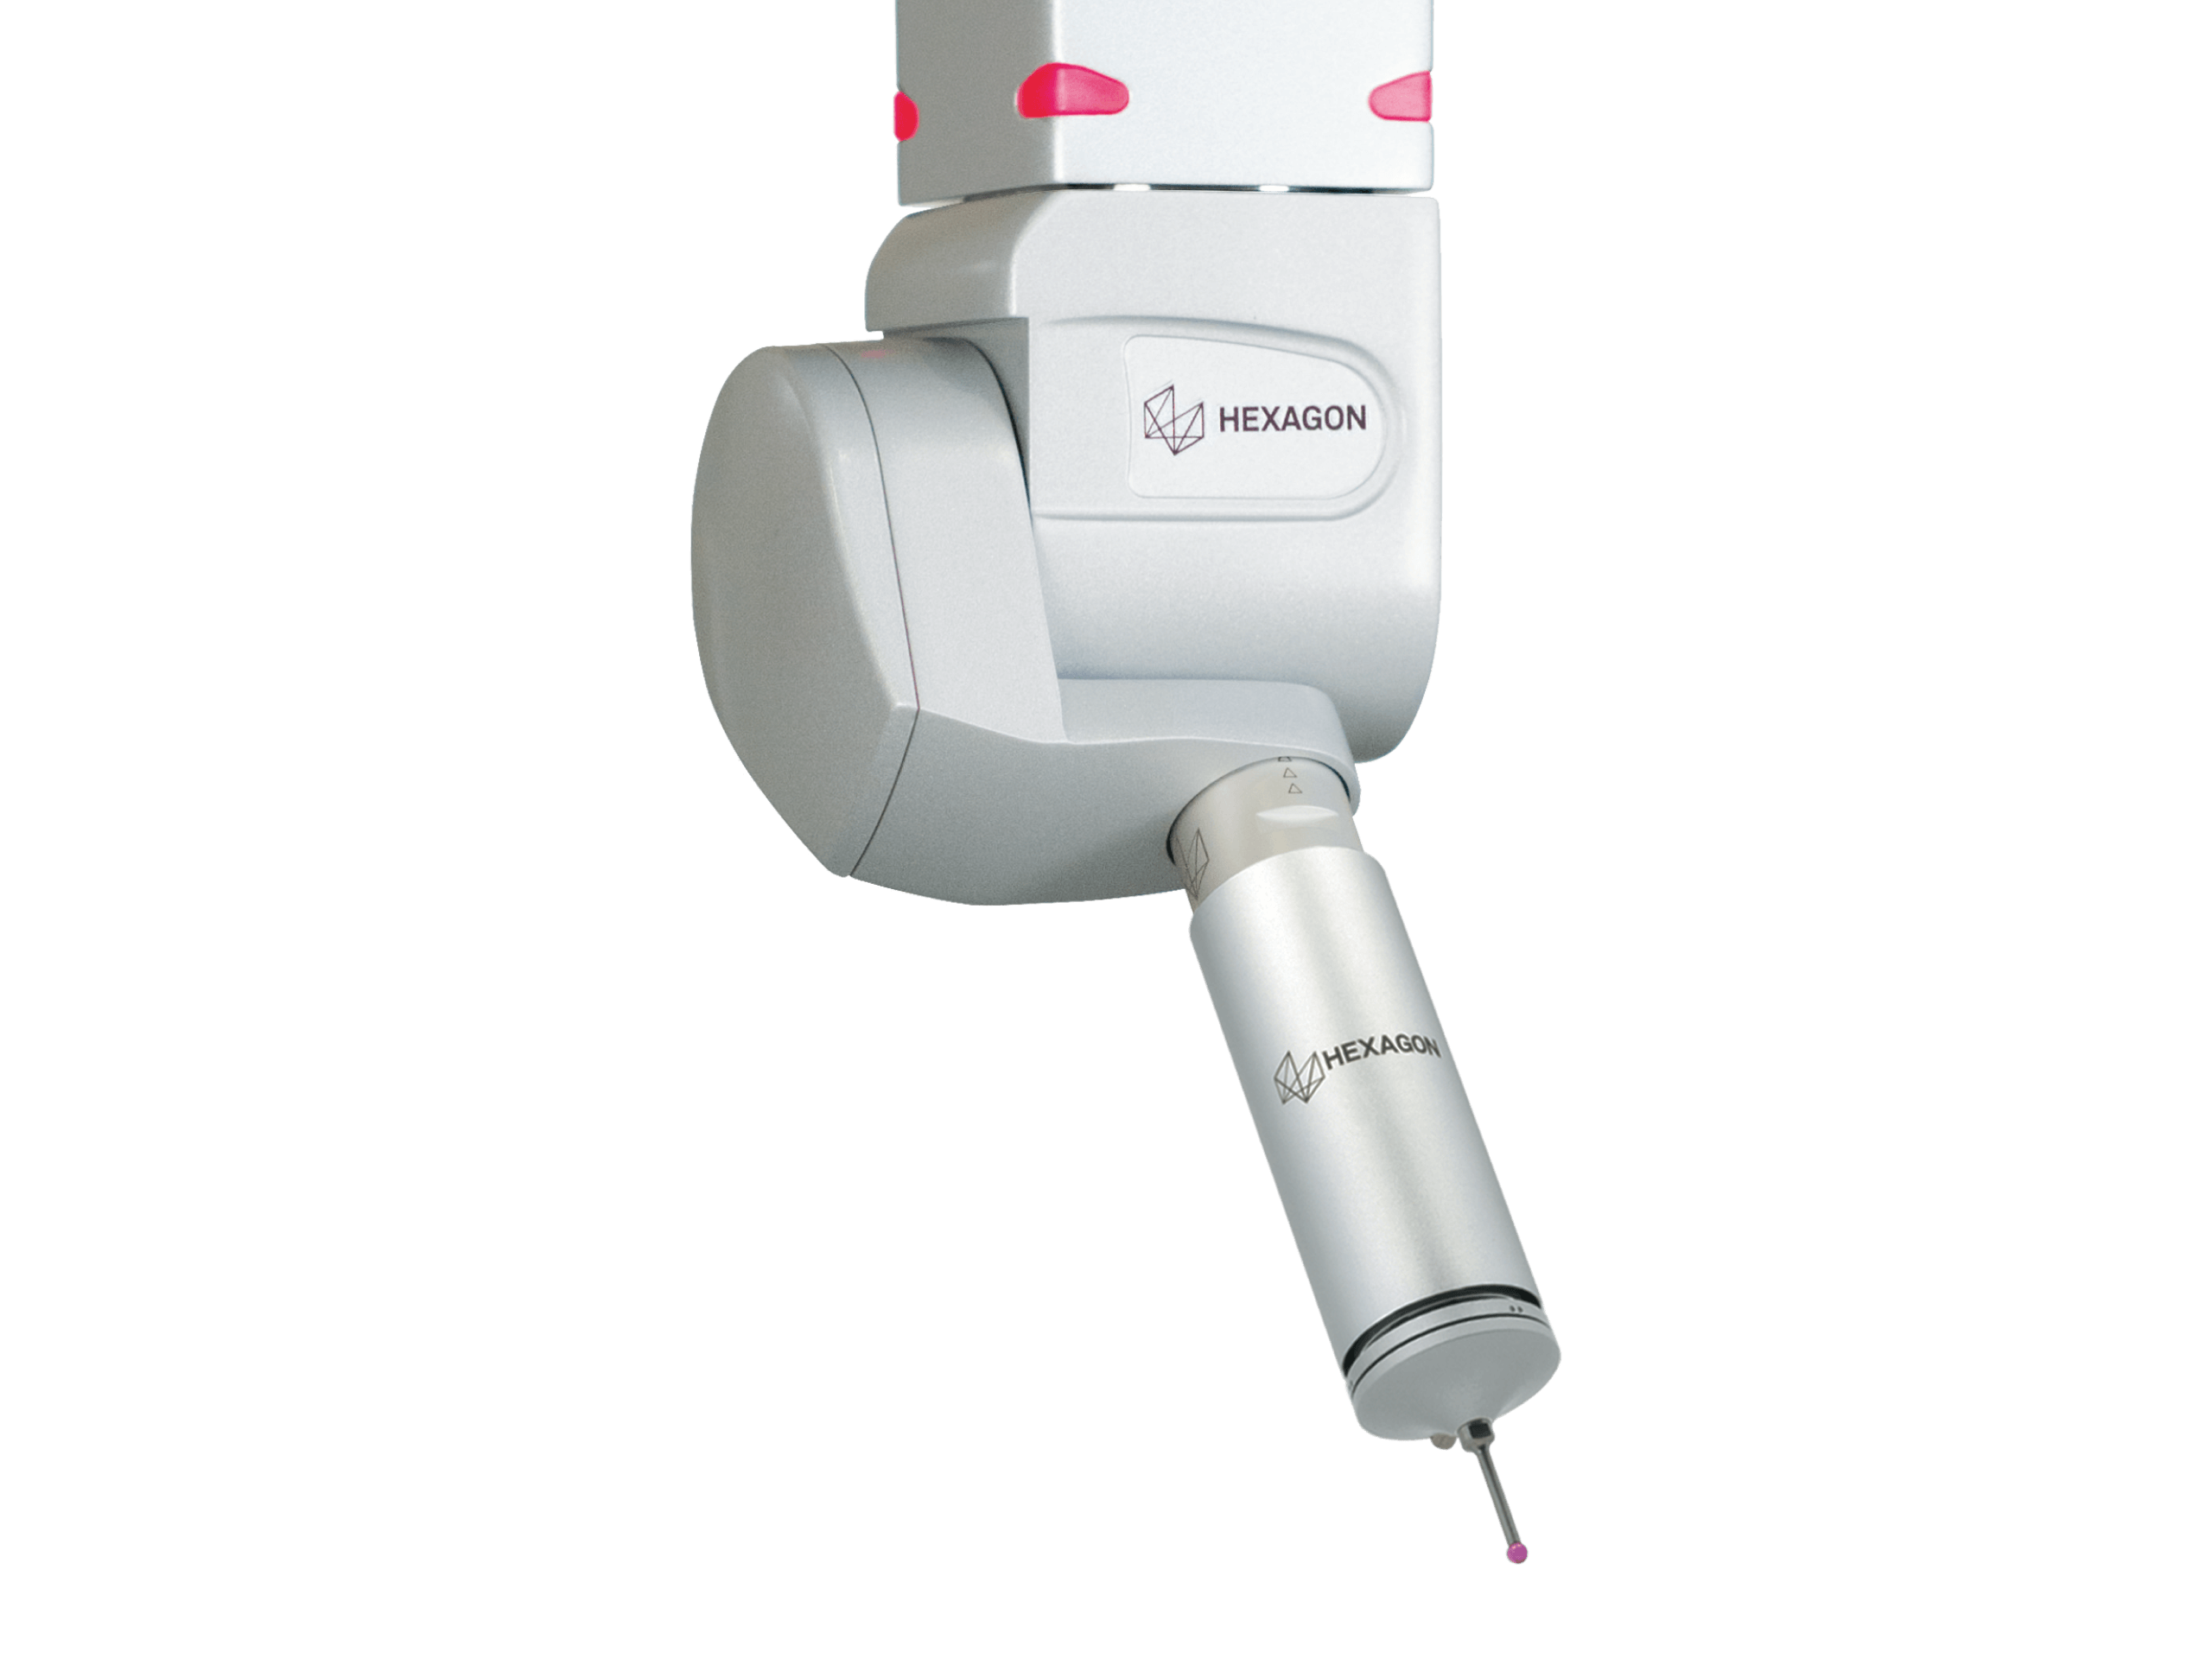
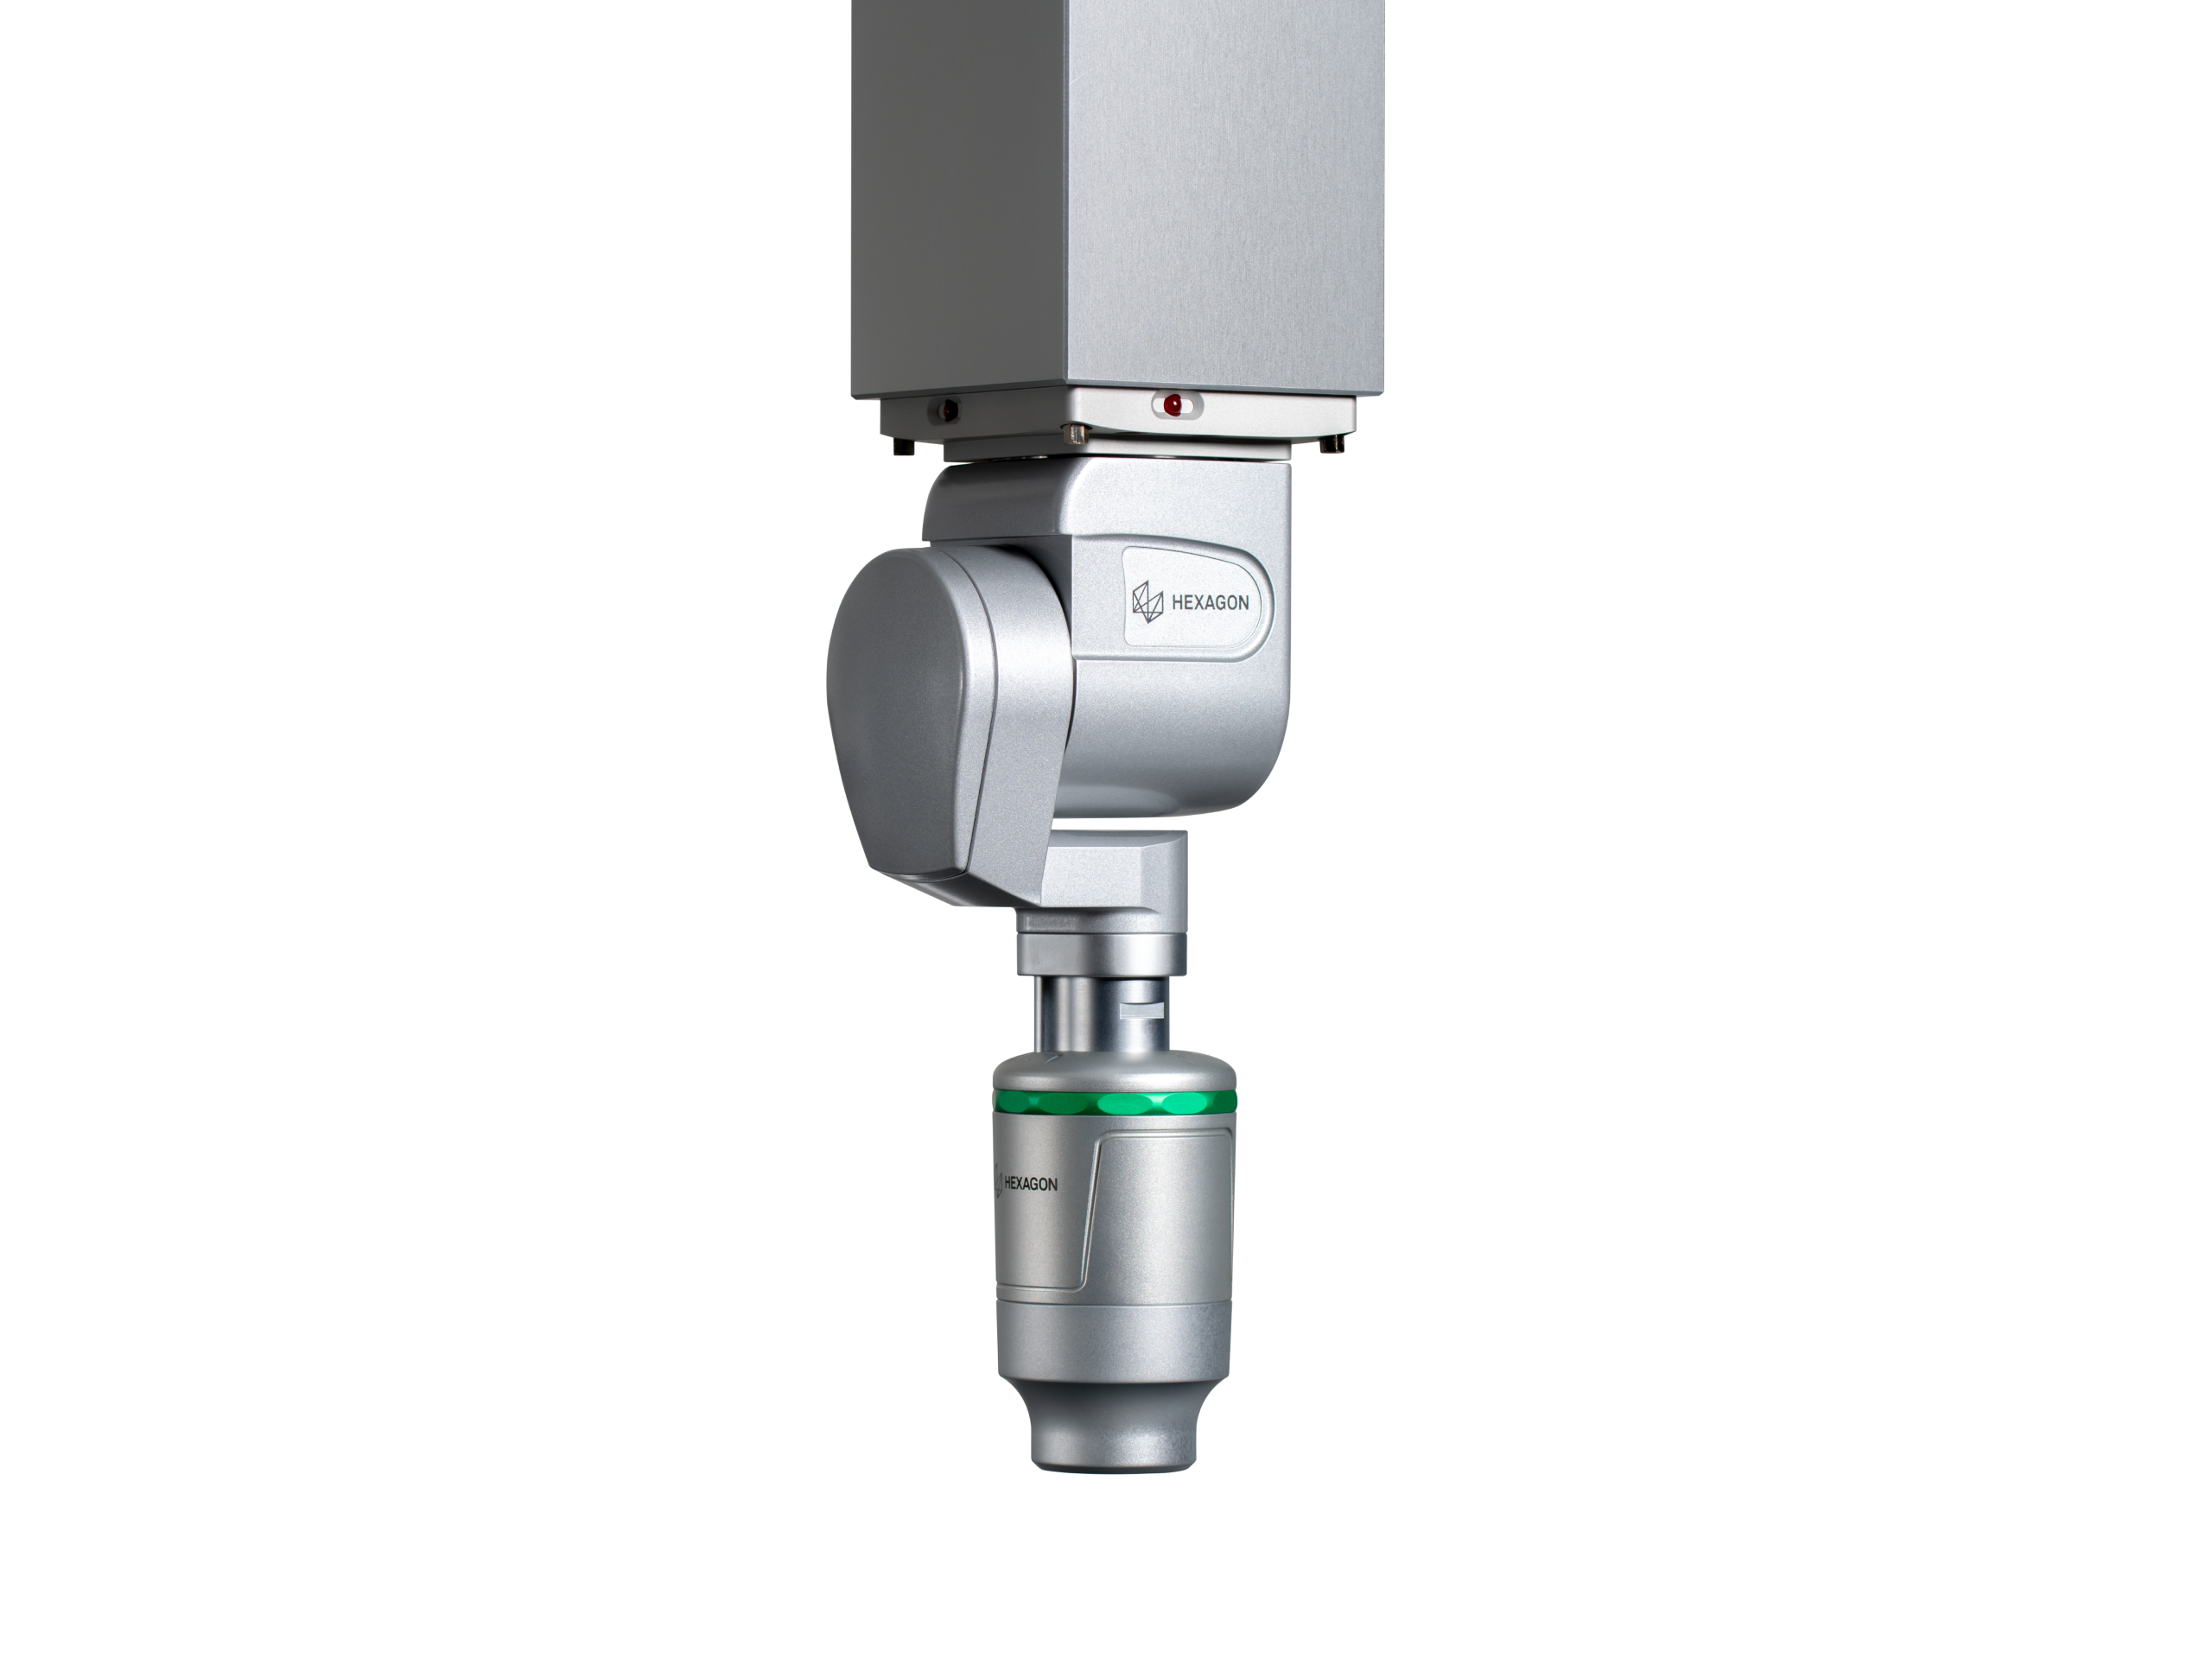
The CMM has an articulating probe head that measures at any angle to add accessibility to complex 3D part geometries. In addition, the SENMATION sensor automation system increases measurement flexibility by seamlessly integrating a variety of tactile and optical sensors within one measurement routine to address multi-part or multi-feature applications.

01

Multisensor

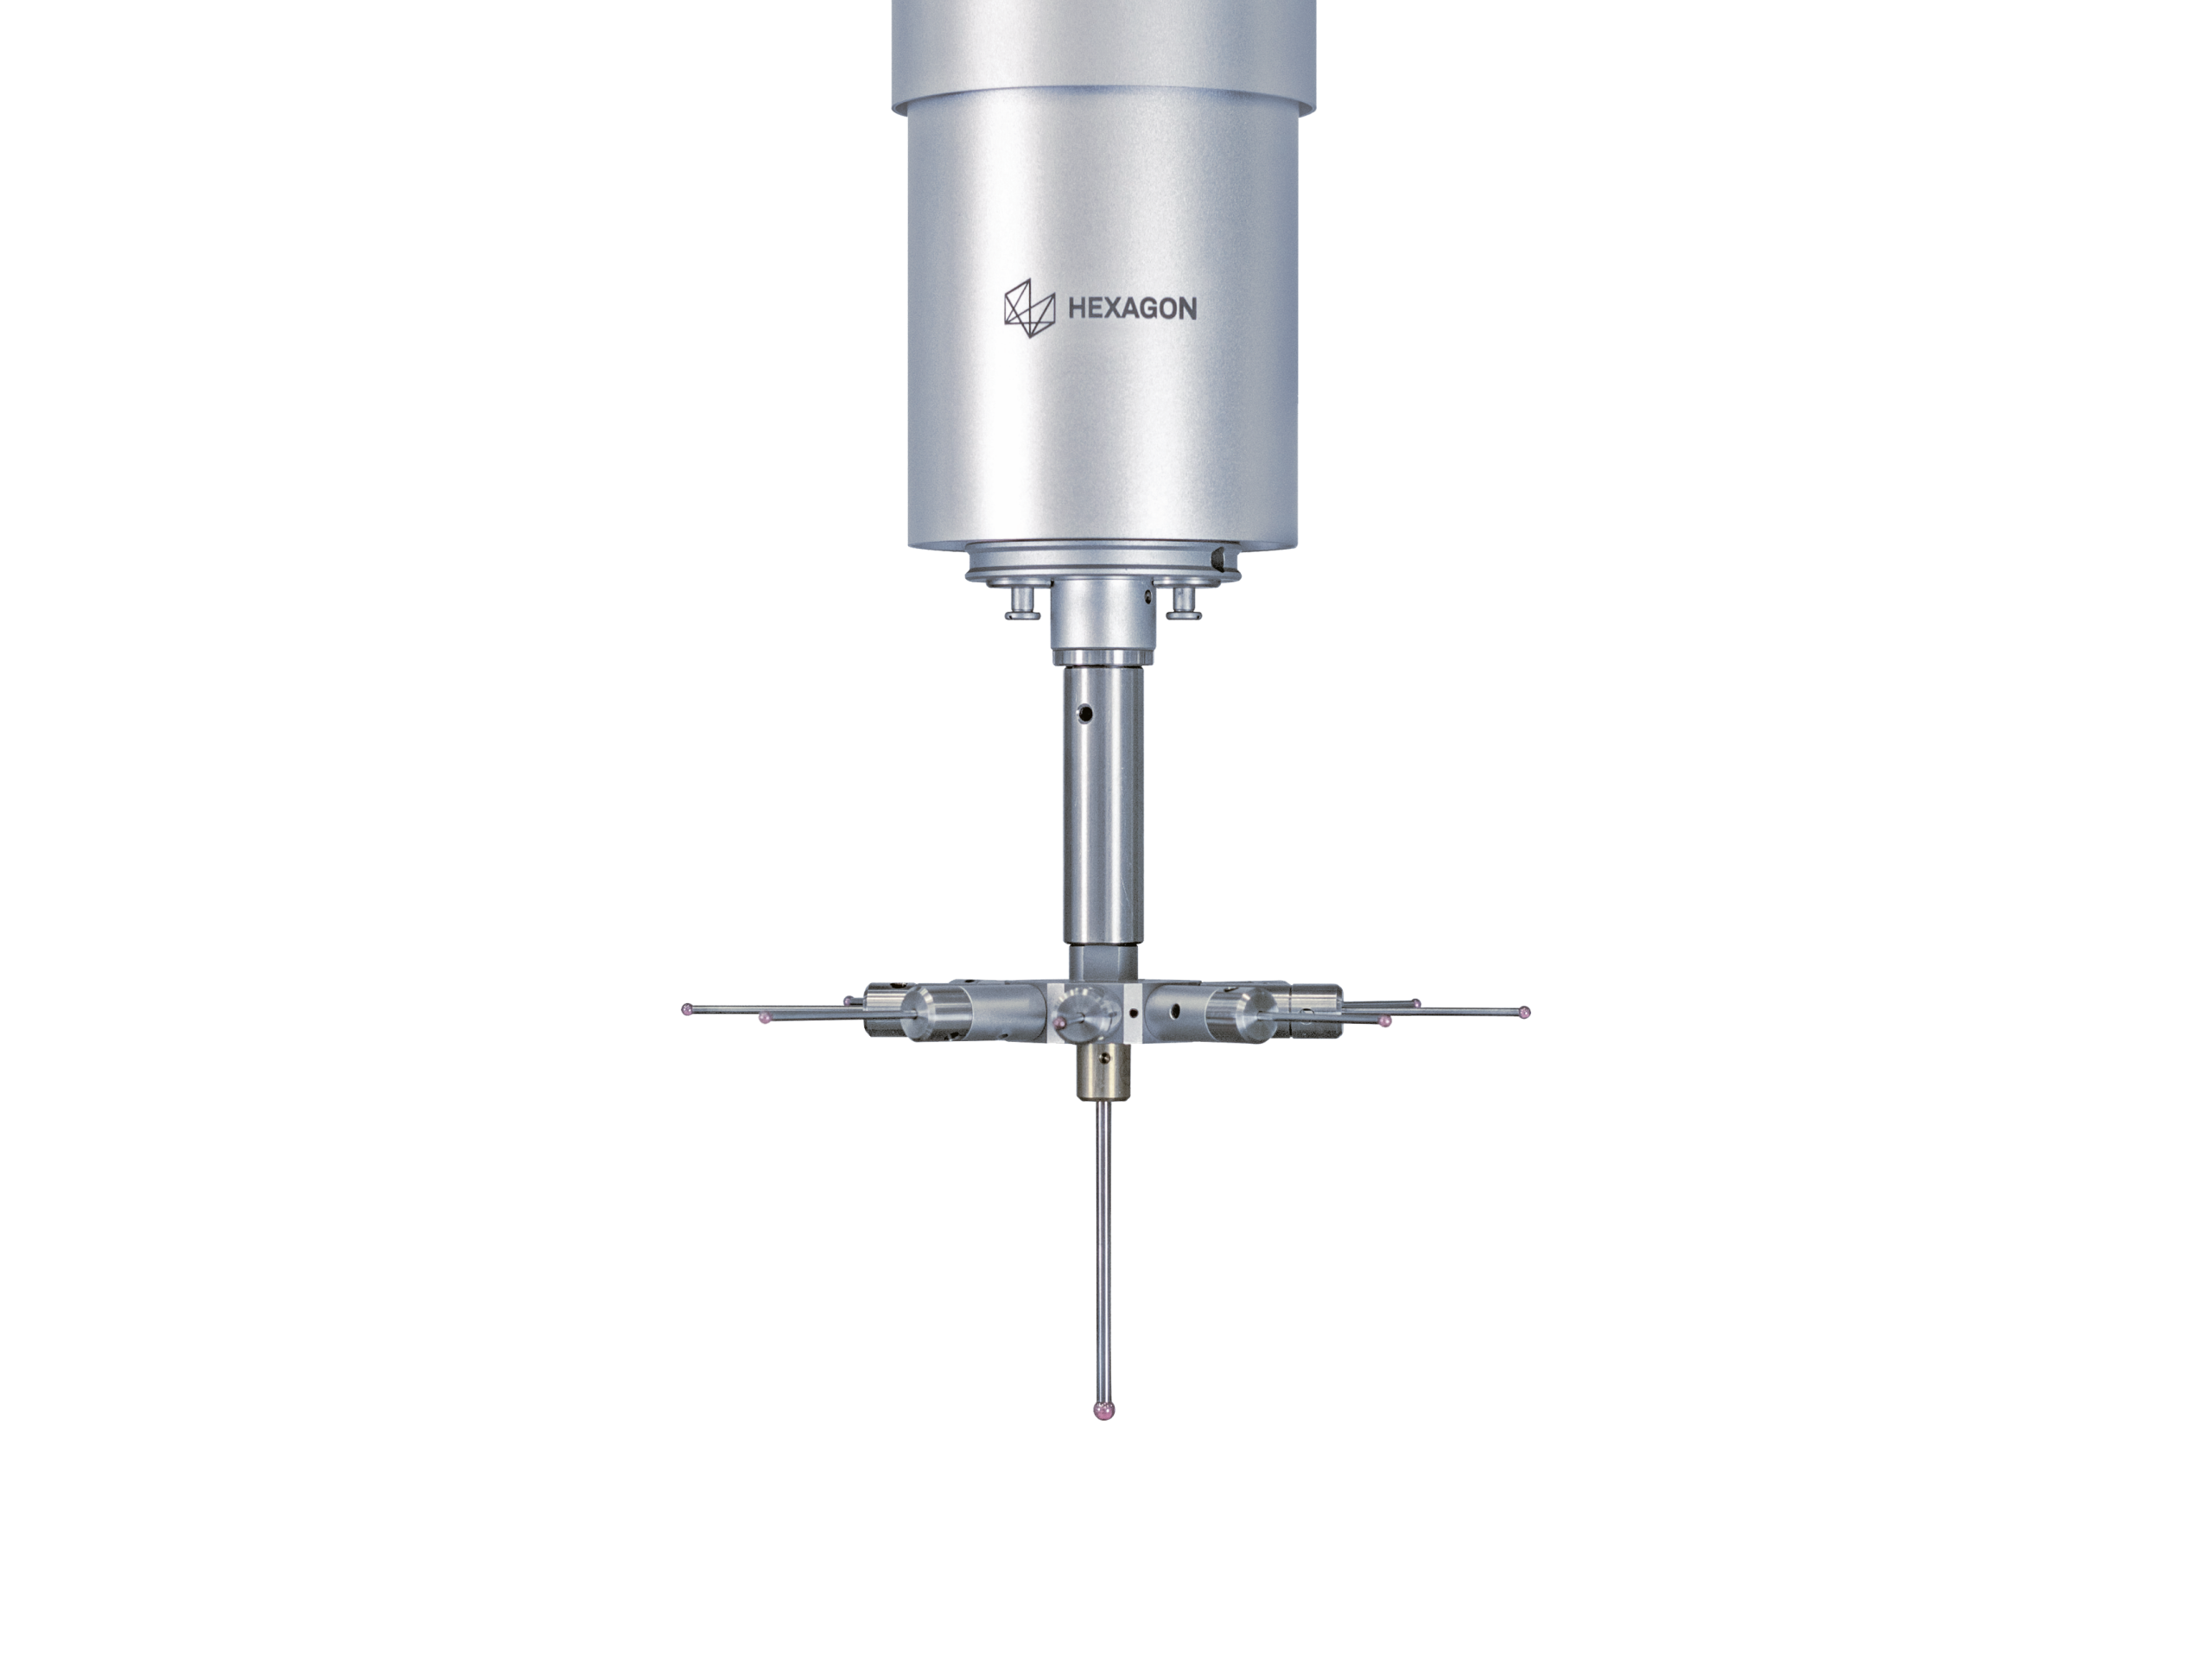
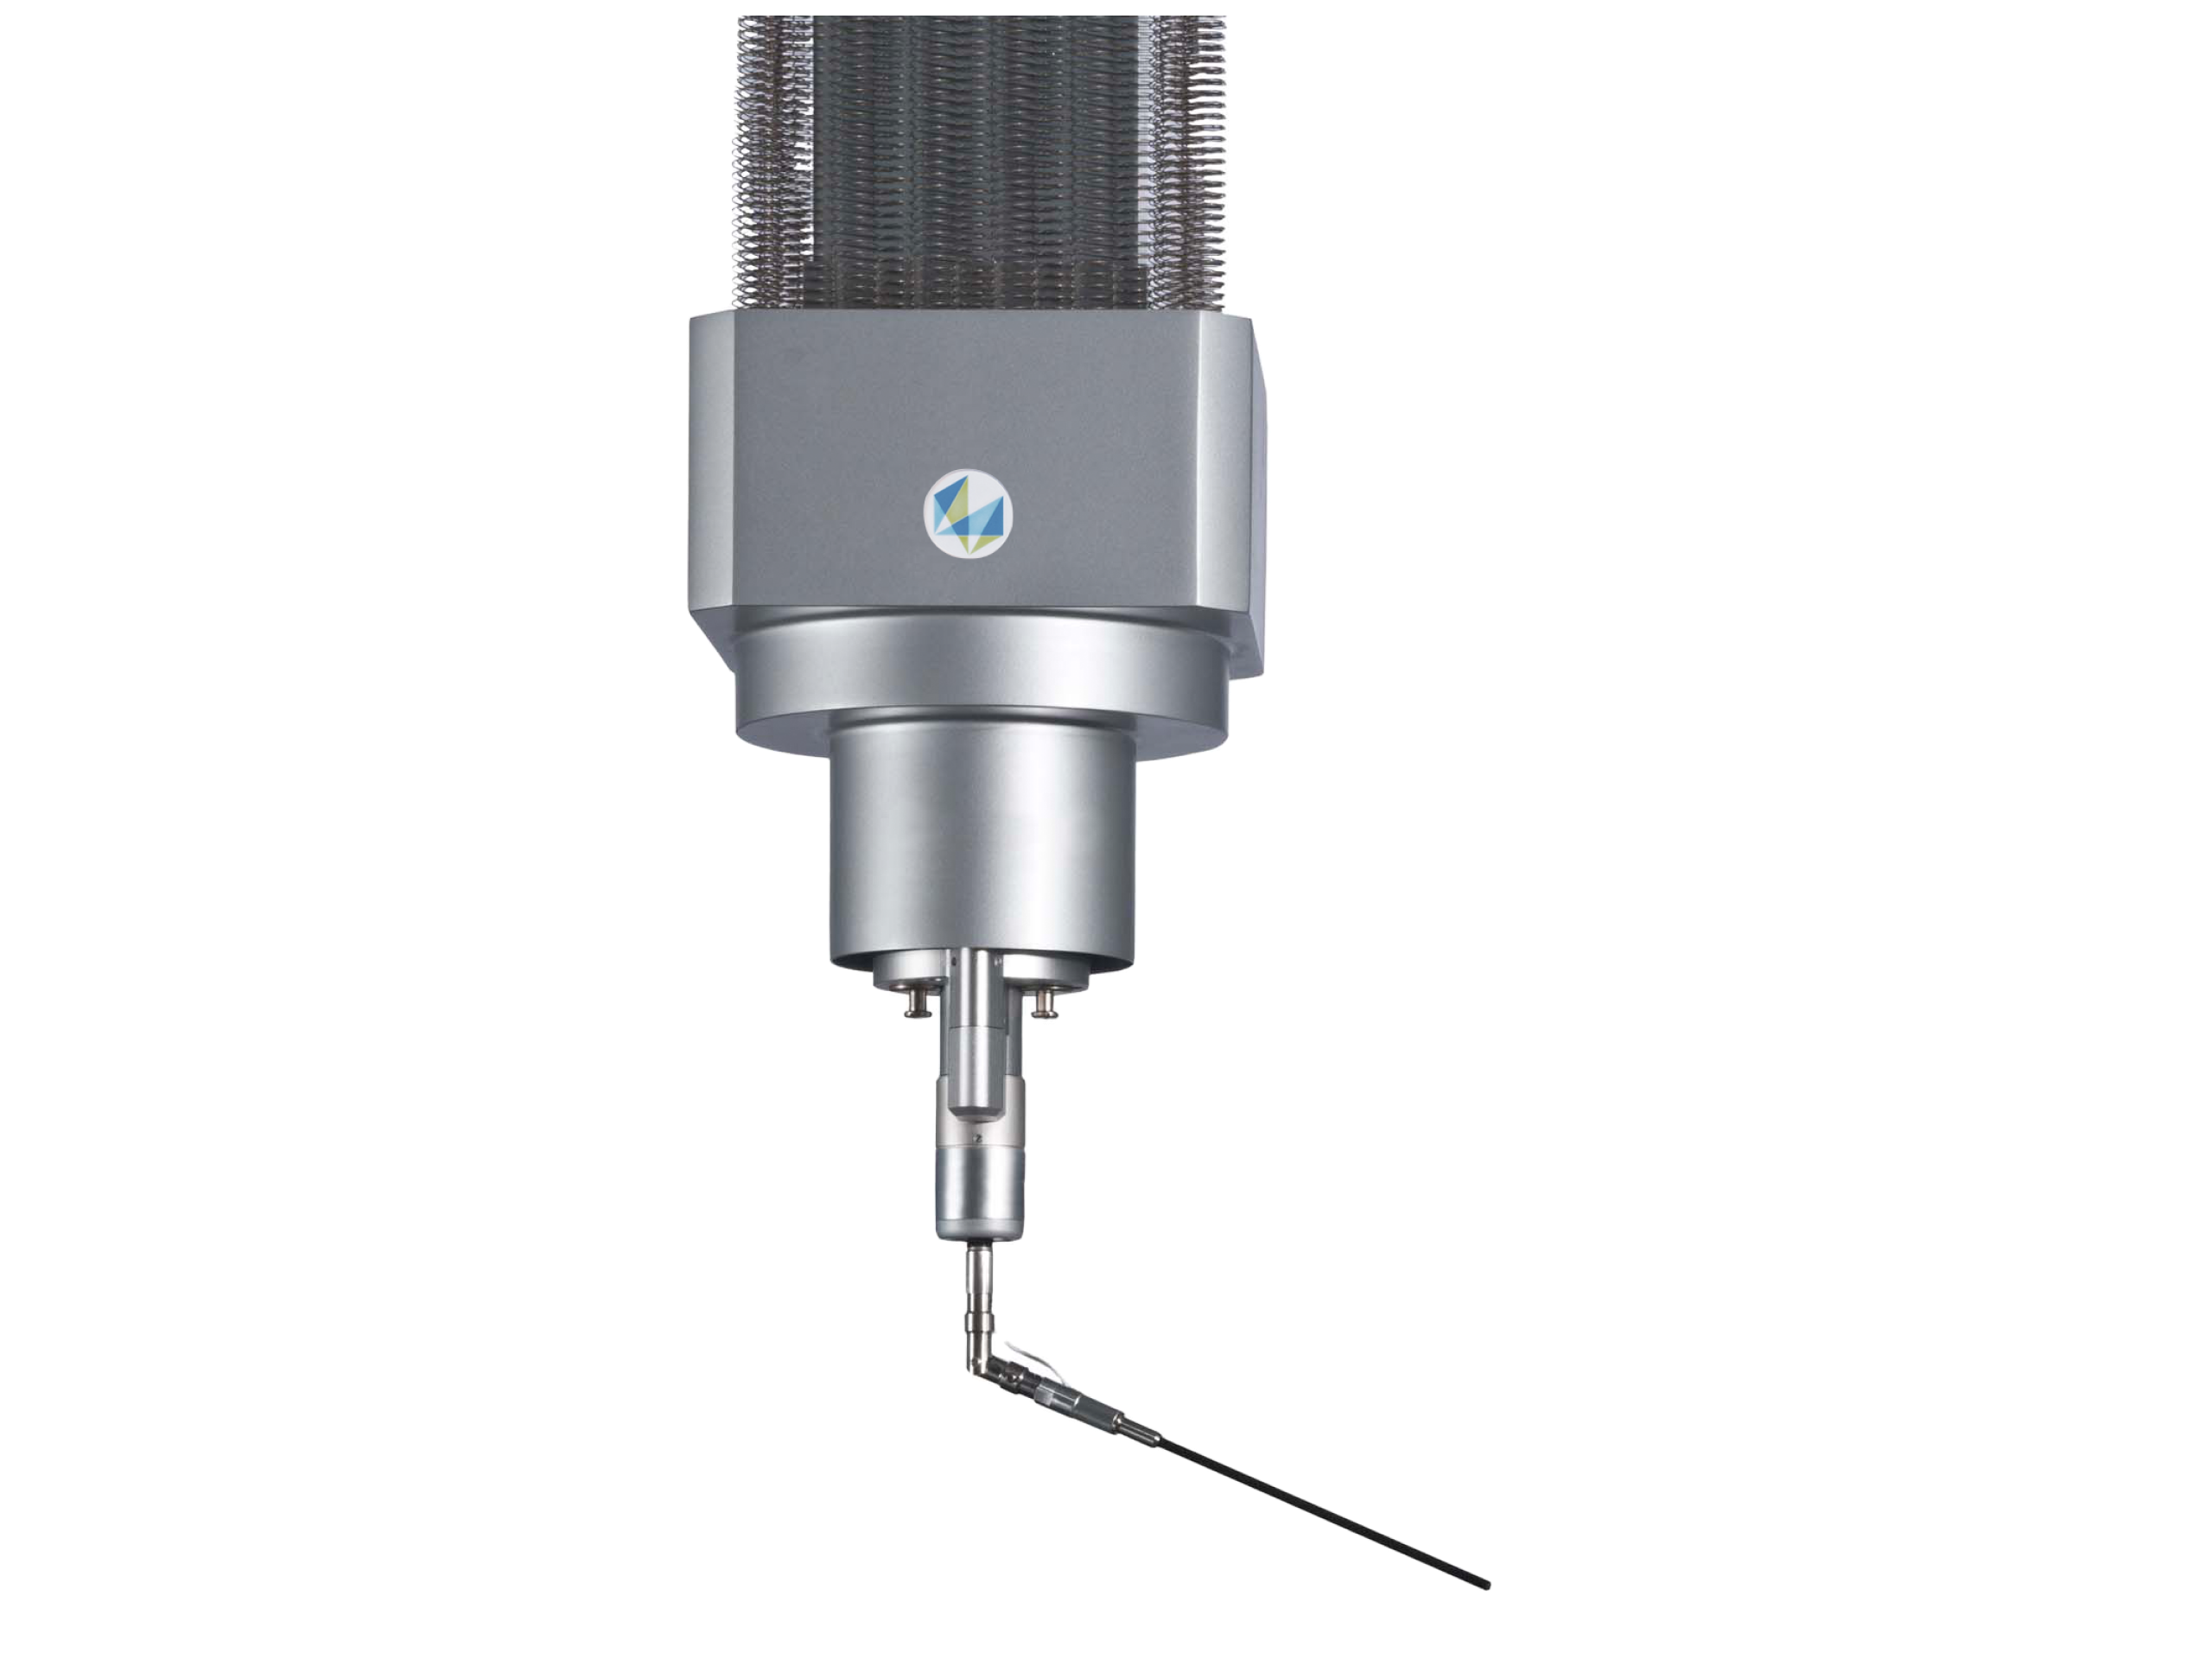
Multisensor capabilities with a broad range of tactile and optical sensors on indexing or fixed probe heads.

02

Versatility

Customizable user interfaces and modules with QUINDOS metrology software for industry-specific parts and special geometries.

03

SENMATION

SENMATION enabling automatic sensor changes within part programs and providing a futureproof platform interface for flexible integration of new sensors.

04

Rotary table

Simultaneous 4-axis scanning – optical or tactile – in combination with a rotary table.

Leitz Reference Flexibility Specifications

Available Size (X, Y, Z)₁

05.04.03 / 07.07.05 / 10.07.06 / 12.09.07 /​

15.09.07 / 20.09.07 / 15.12.09 / 22.12.09 /​

30.12.09 / 40.12.09

Accuracy₂

From 1.1μm + L/350, MPE(E0/E150)₃) [18-24 °C]​

From 0.7μm + L/400, MPE(E0)₃) [19-21 °C]​

From 0.7μm + L/400, MPE(E150)₃) [19-21 °C]​

From 1.2μm + L/250, MPE(E0/E150)₄) [15-30 °C]

Probe type compatibility

Touch-trigger probe​

Scanning probe​

Non-contact probe (optical sensor)​

Contact probe (roughness sensor)​

Laser scanner probe

Automation ready

YES

Temperature specification​

18-24 °C (standard configuration)​

19-21 °C (Accuracy ++ model )​

15-30 °C (XT, option)

₁ Sizes are expressed in dm. I.e., 07.07.05 means X = 700 mm; Y = 700 mm; Z = 500 mm​​

₂ According to ISO 10360-2 (2009)​

₃ MPE(E0/E150) specifications are to be formally understood as MPE(E0E150)* for the case where non-normal CTE material calibrated test lengths are used. Length unit measure (L) in mm​

₄ XT option only

© 2024 Hexagon AB and/or its subsidiaries