System upgrade on 30 March 2026. If you’re using older versions of RADAN Bending, WORKNC, ESPRIT EDGE, DESIGNER, EDGECAM, or VISI, you’ll need to update to a compatible version (2025.4+ / 2026.1+) to keep accessing Nexus. If you need any help, please reach out to support.
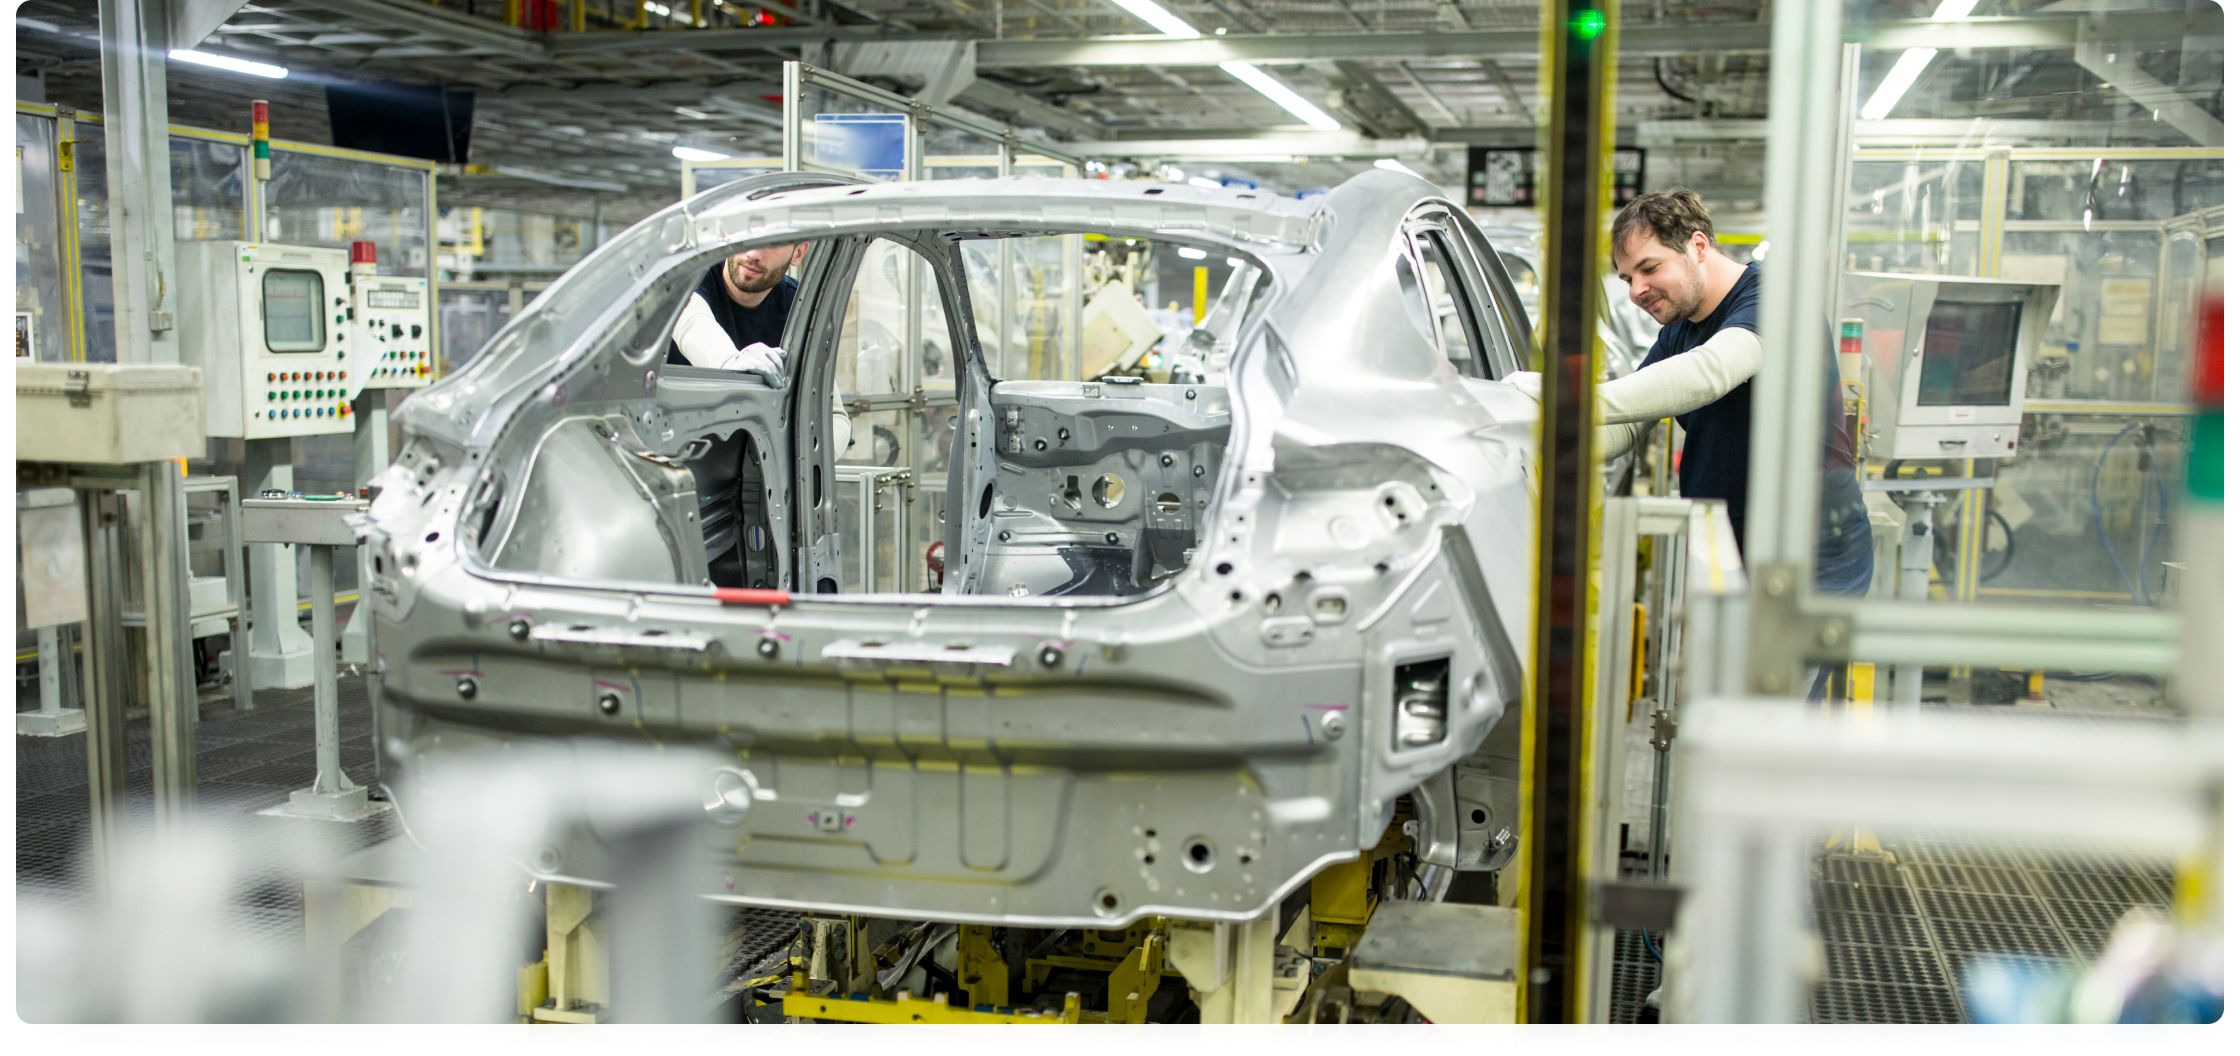
Solutions for Automotive Body-In-White
Design and manufacturing of car bodies with best-in-class quality.
Skip to
BIW Structural Analysis (Static & Dynamic)
Cost estimating of BIW stampings
Virtual process validation for BIW stampings
Welding and joining simulation
Virtual assembly for body-in-white
Manufacturing of stamping dies
High volume GD&T of single parts
Automated BIW quality inspection

Deliver cost-efficient BIW designs to stable mass production within short timeframes.
The BIW is the most expensive and largest component of a passenger car, requiring you to meet several targets ranging from comfort to safety, and the need for efficient and cost-effective production processes. Hexagon provides a full solution toolset to solve design challenges from the concept phase and ensure manufacturability and quality in mass production.
BIW Structural Analysis (Static & Dynamic)
Early assessment of static and dynamic response of the BIW allows to optimize mass (reduce thickness), cost (minimize weld/rivets) and achieve target performance. Leveraging a Finite Element approach (including welding and adhesives), the BIW can be virtually tested under both static and dynamic conditions, accounting for manufacturing tolerances and defects.
Structural analysis
Products used
Cost estimating of BIW stampings
Reliably and quickly estimate raw material and tooling costs, as well as method plans to assess the manufacturability of stamped components during their development. Develop detailed method plans, accurate flat patterns and nesting layouts and estimate raw material and tooling costs for complex sheet metal parts, including developing progressive die process plans.
Virtual Manufacturing and Costing
Virtual process validation for BIW stampings
Avoid delays and cost overruns when validating and optimizing tool designs by simulating the complete manufacturing process prior to building dies. Simulate the entirety of the manufacturing process, including blanking, cutting, forming, hot forming, springback and die loads to fully predict the resulting part shape and quality from a process design.
Virtual Manufacturing and Costing
Welding and joining simulation
Reduce the time and cost needed for development and physical tryouts of welding and joining processes, while increasing the robustness of the manufacturing process Model and optimize a wide range of fusion, pressure welding, and mechanical joining processes, taking into account a variety of welding and joining parameters.
Virtual Manufacturing & Costing
Virtual assembly for body-in-white
Ensure dimensional stability and design feasibility for assembled structures with reducing physical prototyping, reduced cost for development and manufacturing, plus a shorter time-to-market. The digital thread for virtual assembly connects the different product creation stages and brings together both virtual and physical production measurements for a seamless data exchange.
Virtual Manufacturing and Costing
Structural Analysis
Process Control and Analytics
Products used
Manufacturing of stamping dies
Minimize lost time and potential errors in the manufacturing process of complex dies with one easy-to-use software that covers the entire process. The solution provides the shop floor with a graphical outline of the complete stamping die build process and provides detailed digital instructions for all the steps for die assembly process. Complex surface machining for the stamping dies is done efficiently using an advanced CAM software.
Manufacturing Project Management
Mould and Die (Design and) Manufacturing
High volume GD&T of single parts
Inspections of BIW individual parts are performed manually or automatically at various stages throughout the manufacturing process. Either tactile or non-contact sensors can be selected, while measured data is compared with CAD data to check part quality.
Dimensional Analysis
Process Control and Analytics
Automated Inspection
Ensure dimensional accuracy for downstream assembly and avoid production delays with statistical process control, combined with high-speed data acquisition for measured samples.
Products used
Automated BIW quality inspection
Monitor production quality in real-time using a reliable dimensional inspection system, which is easy to integrate near-line or even in-line. Measure the BIW in a dedicated measuring cell with a laser tracker, allowing for comparison of production tolerances.
Automated Inspection
Dimensional Analysis
Process Control and Analytics
Products used
Automated flush and gap inspection and analysis
Clearly define flush and gap profiles and undertake path programming in just a few clicks. Carry out in-depth, fully automated measurement of flush and gap using a horizontal arm or gantry coordinate measurement machine.
Automated Inspection, Dimensional Analysis
Portable measuring arms
3D scanners
Process Control and Analytics
Products used
Flush & gap analysis of finished cars
Reduce inspection times with an automated, CAD compliant gap evaluation with a patented measurement principle suitable for all surfaces of finished cars, including transparent, highly reflective, shiny and other tricky surfaces. Fully robot automated inline measurement of gap & flush especially on transparent, highly reflective, shiny and tricky surfaces of finished cars.
Dimensional Analysis
Automated Inspection
Process Control & Analytics
Products used
© 2026 Hexagon AB and/or its subsidiaries